
Inboxes
Inboxes are commonly used for temporary storage of document files prior to indexing. Inboxes are not bound to a database, so they may be used as a staging location for one user that may be indexing to multiple databases.
GlobalCapture can natively release to Inboxes, so automated capture processes that don't require document indexing can stage to an Inbox for user input. Documents can also be sent to an Inbox from a database, so users can collect disparate documents from different Archives or even Databases for further action.
Inbox View
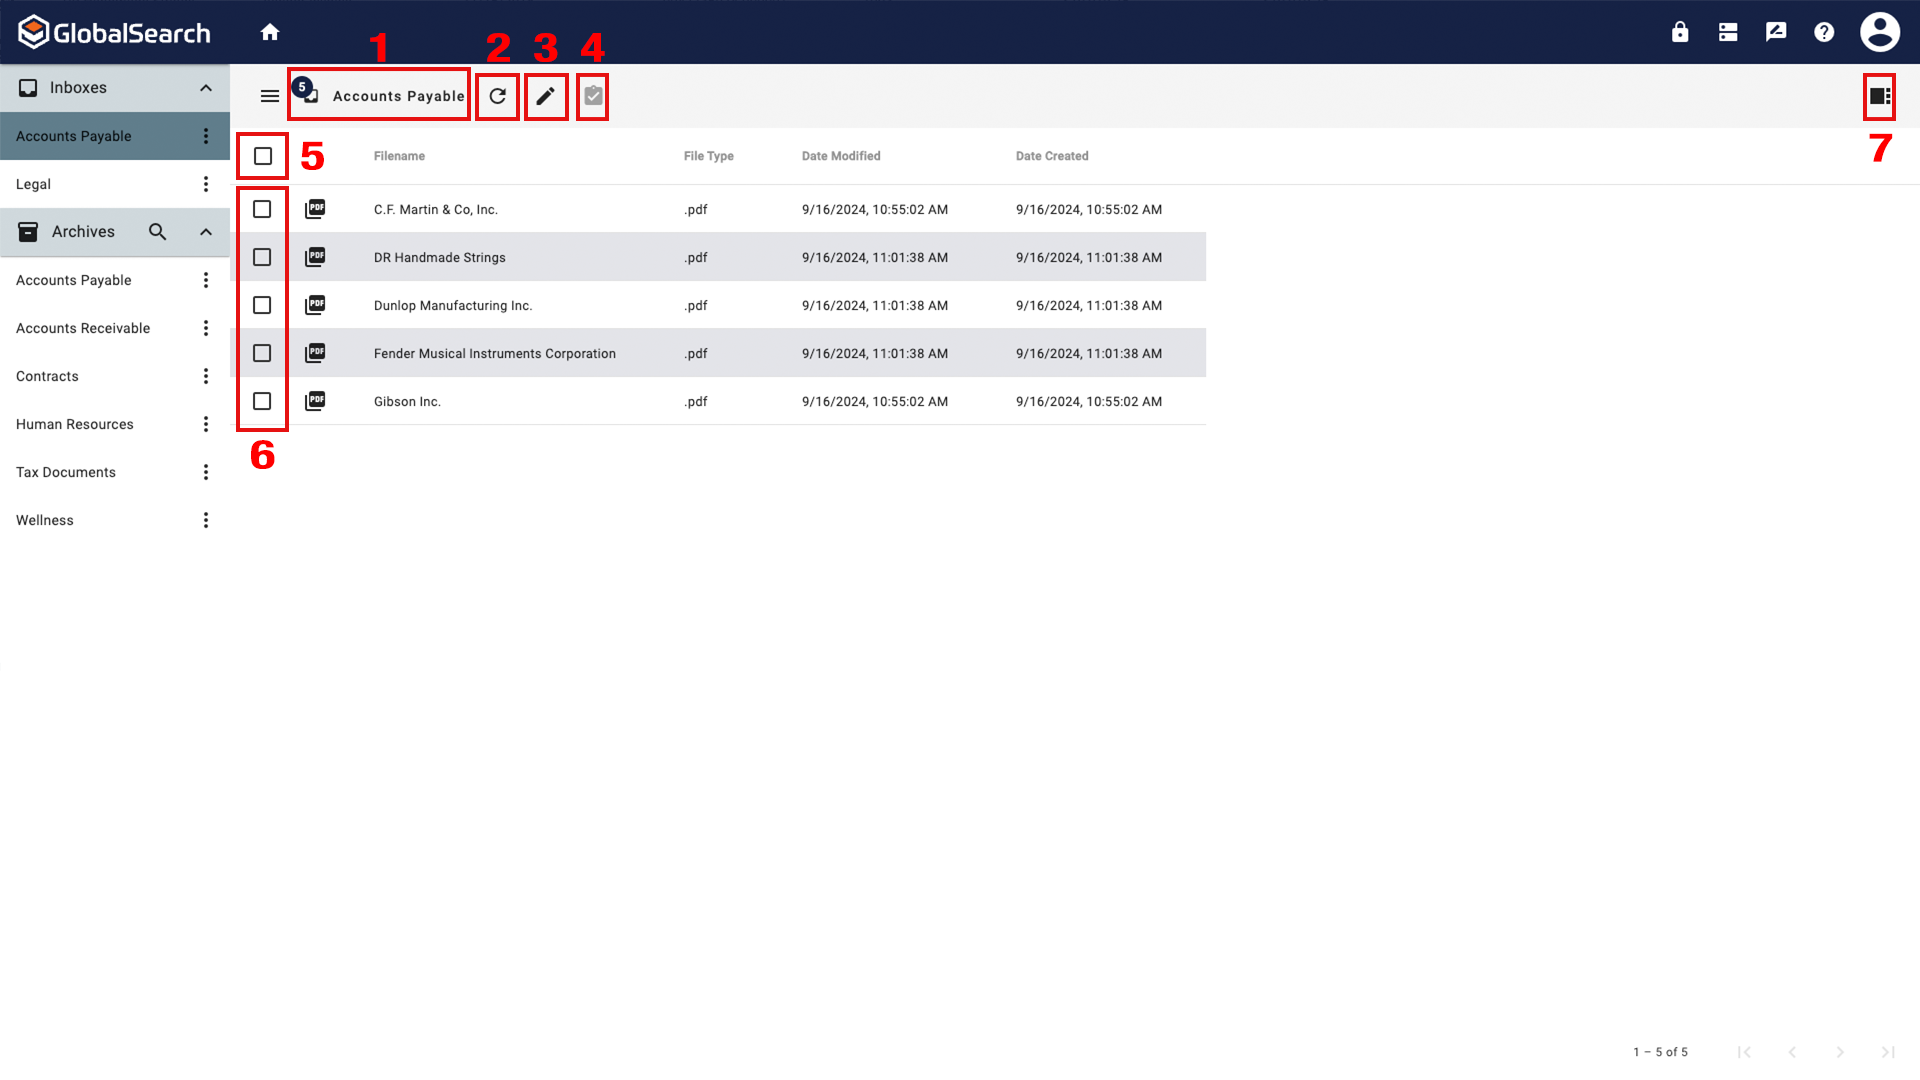
Inbox View
Inbox Results (
 ) - Displays the name of the Inbox the document reside and the total number of documents within the Inbox.
Refresh (
 ) - Refreshes the inbox, checking for any newly added documents.
Edit (
 ) - Edit the file name of the document in the results grid.
While Inboxes have no concept of Indexing, they do display and allow for editing of a file's name. The File Name field is a true reflection of the file's name in Windows. So if a file named 00000001.pdf was imported to an inbox, the File Name field would have the value 00000001. File names can be helpful to users, so in cases where documents sent directly to an Inbox from GlobalCapture, it may make sense to name the file with some relevant descriptive text. The File Name can be edited by a user.
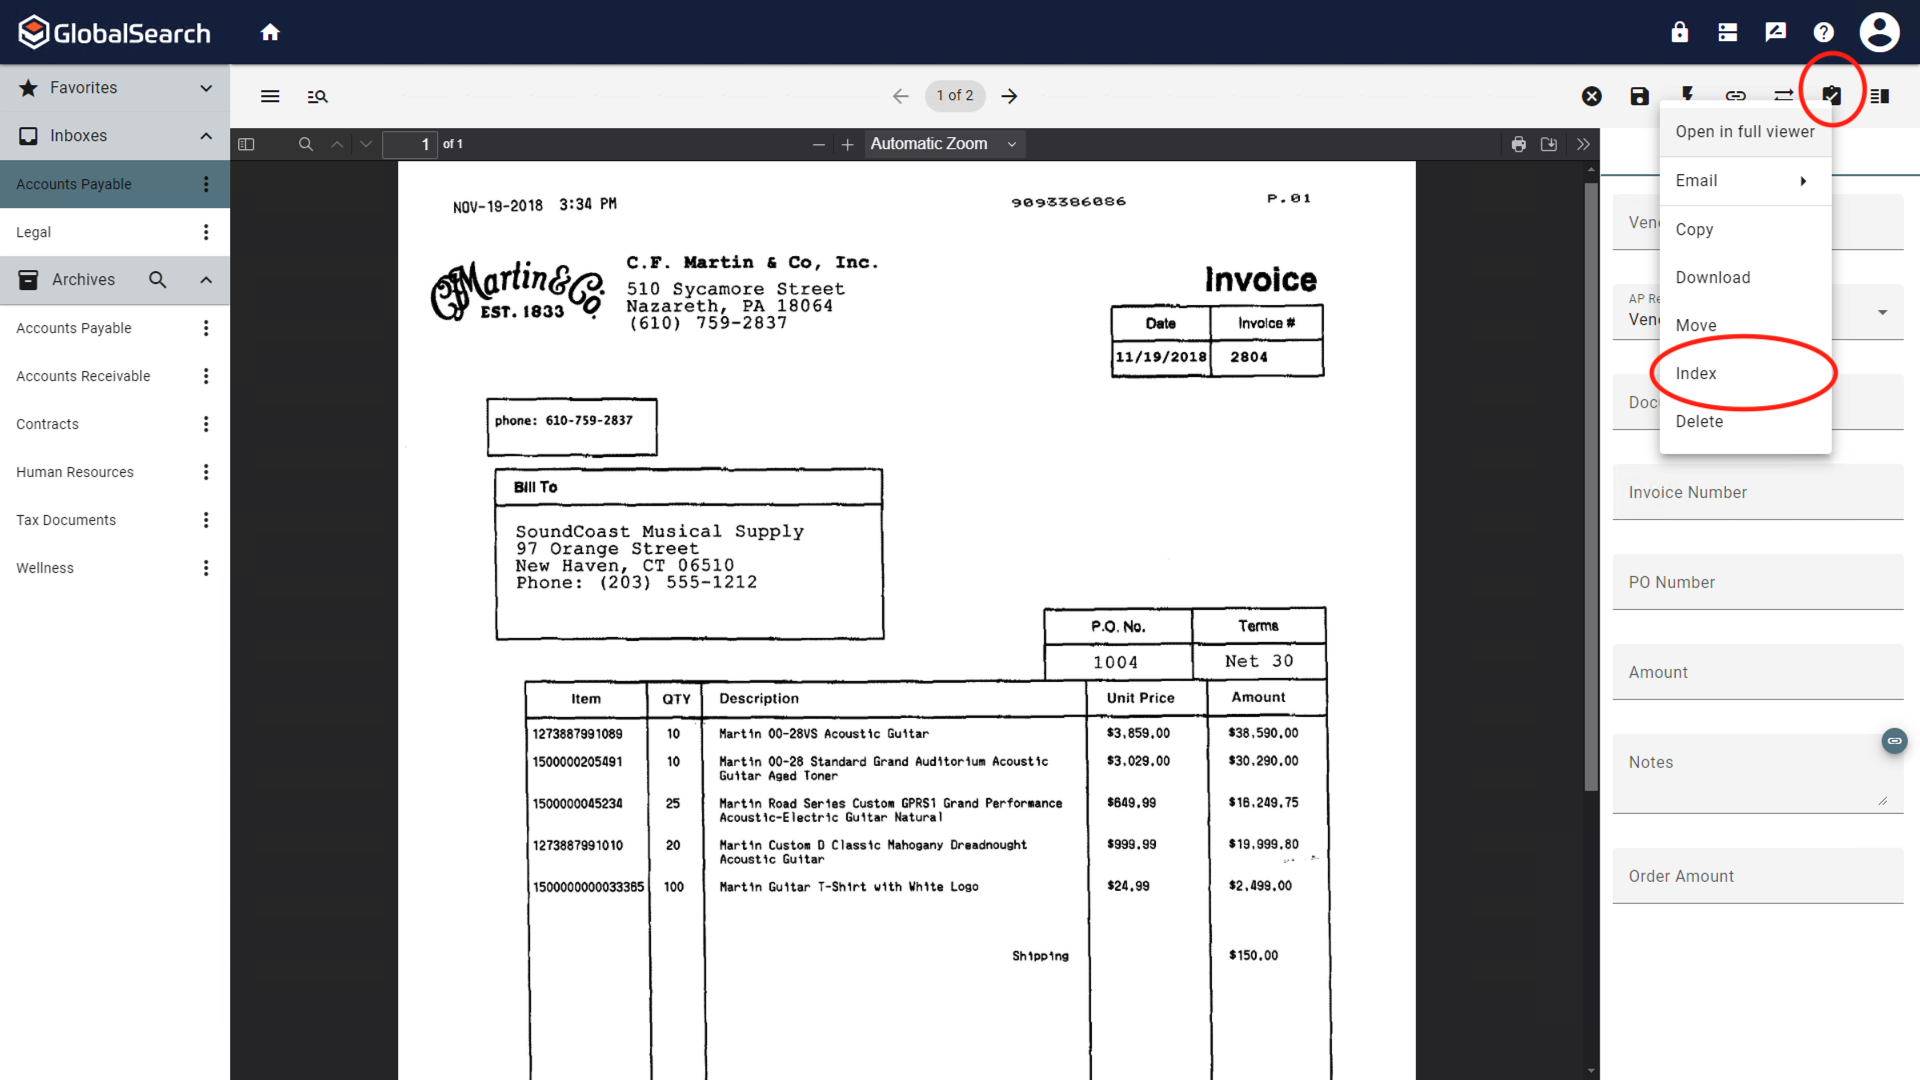
Actions (
 ) - Take action on selected documents such as Moving, Indexing, Deleting, etc.
Open Documents - Opens the selected document(s) in a single viewer.
Open in full viewer - Opens the selected document(s) in the legacy GlobalSearch browser client.
Email - Automatically create new email messages with selected GlobalSearch documents attached. Send with or without annotations and use an index field as the file name.*
Copy - Creates a copy of the selected document(s) into an inbox.
Download - Downloads the selected document(s) to the local drive.
Merge - Merges selected document together in the order in which they are selected.
Move - Move the selected document(s) to a new Inbox.
Index - Select an Archive to index the document to before the document is opened in the Document Viewer for indexing.
Delete - Deletes the selected document(s).
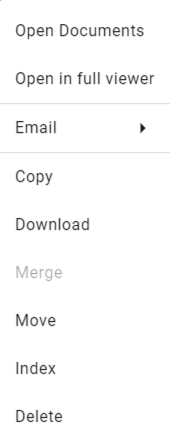
Inbox Actions Menu
Select All Documents - Selects or deselects all the documents on the current search results page.
Document Selector - Select one or more documents for actions.
Toggle right sidebar (
) - To the right of the Inbox results, the right sidebar allows you to control how your results are displayed and preview the document.
a. Grid Settings - Configure how the columns of Index Field values display in the Search Results View.
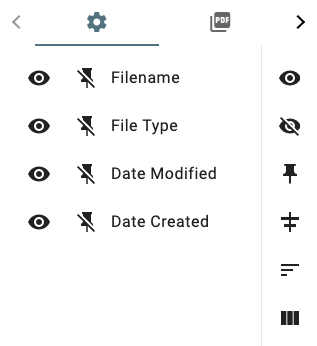
Inbox Grid Settings
b. PDF Preview - Displays a preview of the document without opening the document into the document viewer or a PDF preview window. View thumbnails of the pages, search the document, scroll through its pages, and print or export directly from the Search Results View.
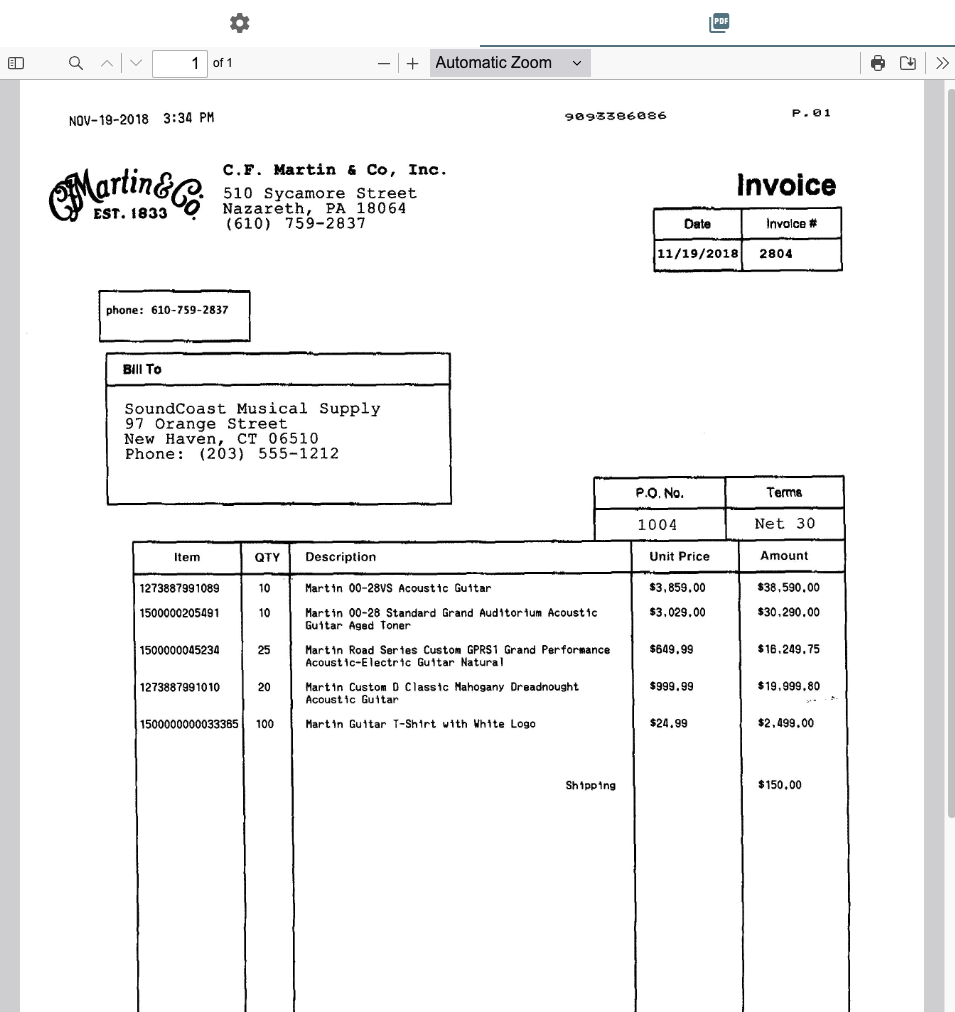
PDF Preview
Basic Usage
Inboxes offer a flat, simple interface for accessing documents. Inboxes are intended to be temporary as users are working with documents for filing or other purposes. There are no search capabilities and documents are listed with only their basic properties and a standard grid containing Filename, File Type, Date Modified, and Date Created.
Documents can be added to an Inbox in a number of ways:
Drag and Drop. Just like Drag & Drop to an Archive, documents may be "dropped" to an available Inbox. Unlike an Archive, there is no prompt for indexing. Drop operations of files are just accepted when an Drag and Drop operation is performed by an authorized user.
GlobalCapture can Release documents to an Inbox directly.
Import and Scan: Click the ellipsis icon of an Inbox to access import options. Import is always available to import files from your computer. Windows users will also have the option to scan into an Inbox.
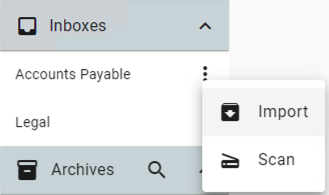
Import and Scan
Documents may be copied into or moved into an Inbox from another Inbox or Database Archive. Use the Actions menu with document(s) selected for Copy / Move operations. When working with documents in another Inbox, you may only copy or move to other Inboxes. When working from an Archive, the destination prompt will allow for choosing an Archive or Inbox destination.
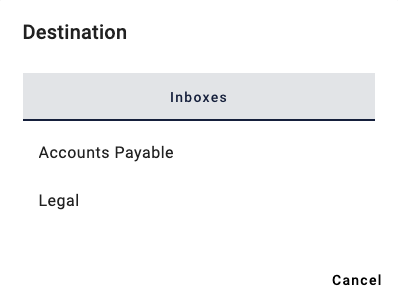
Move/Copy from an Inbox
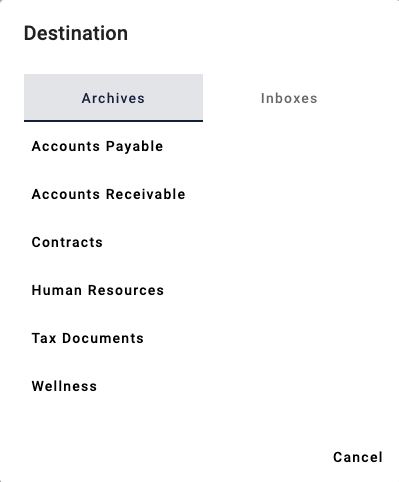
Move/Copy from an Archive
Keep in mind, the File Name property is the file's acutal name in Windows. As a result, the File Name must comply with Windows file naming standards.
Avoid giving multiple files in an Inbox the same File Name. While under normal circumstances, this is not possible, there are fringe cases where two files could share the same name if they have different extensions.
Indexing
In most cases, documents from an Inbox will be indexed to an Archive at some point. To index a document:
Select one or more files from an Inbox and choose Index from the Action menu.
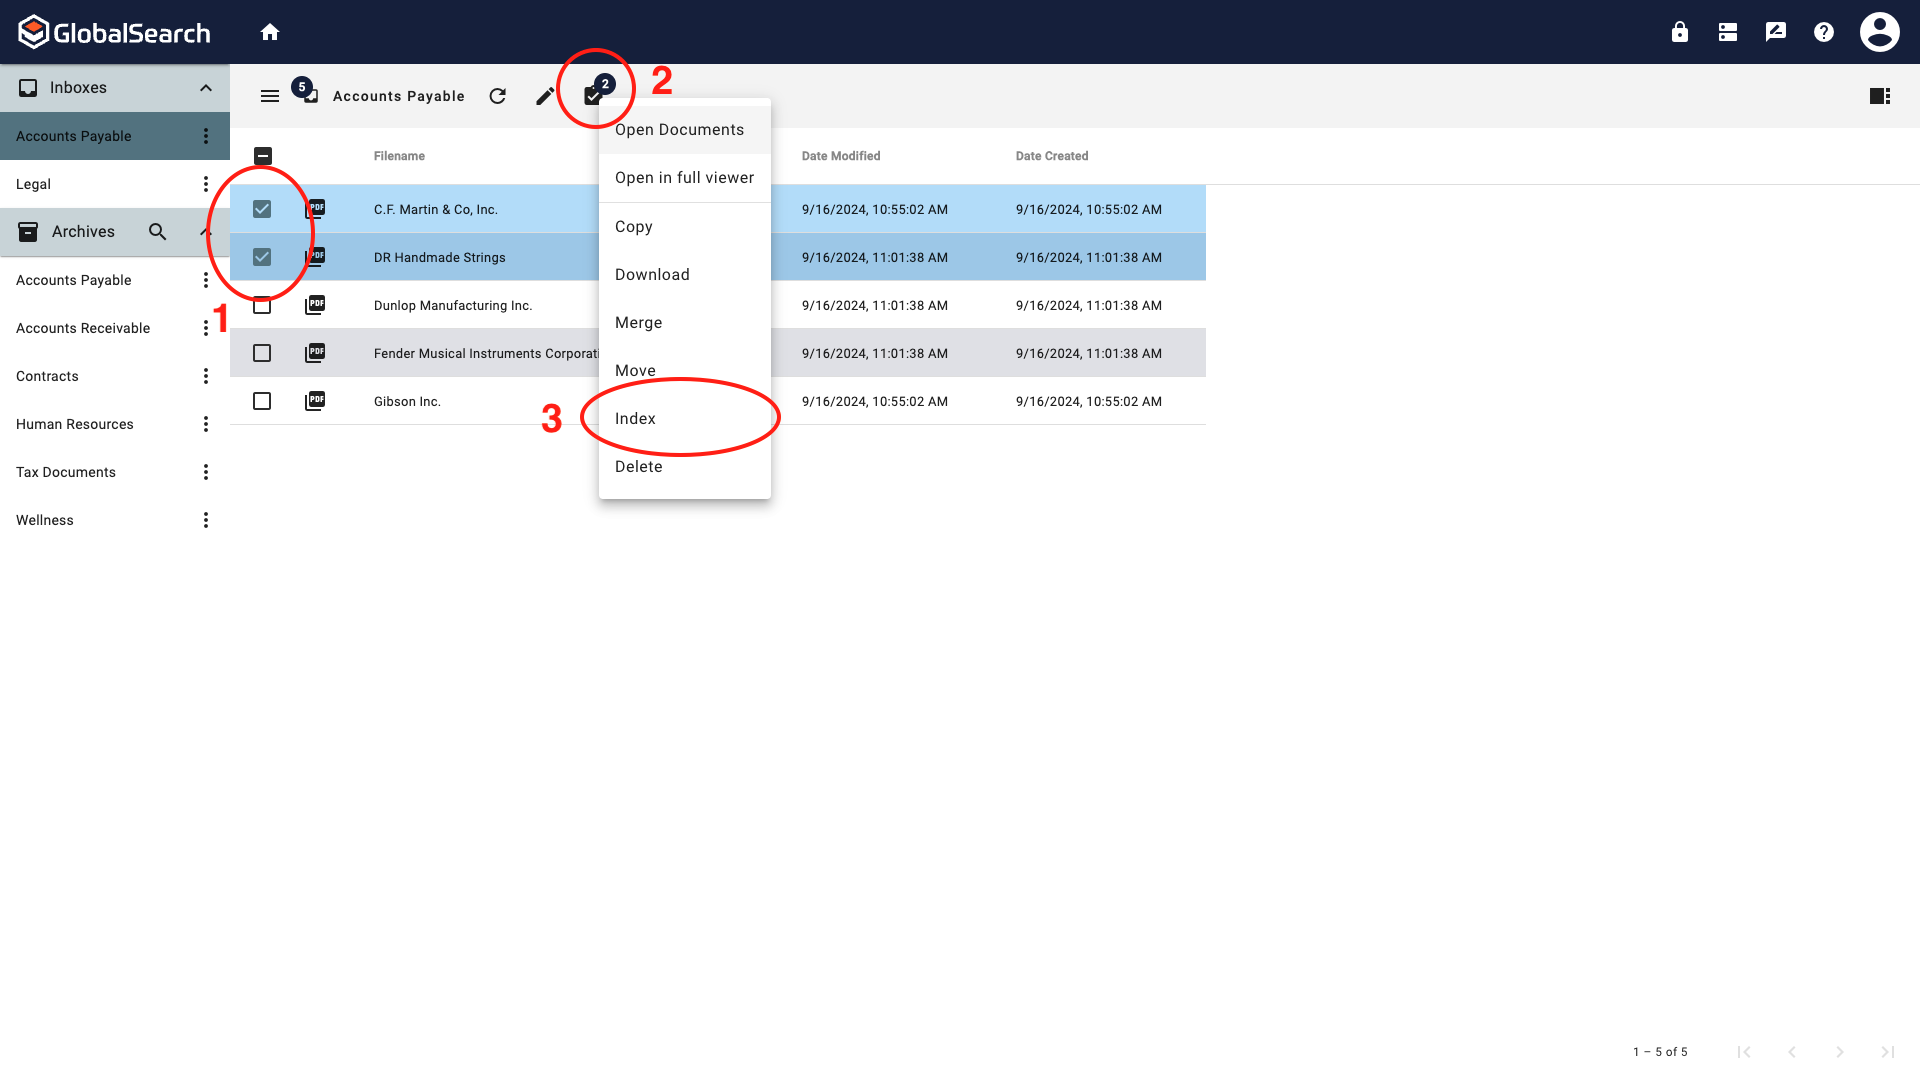
Indexing a Document
Choose a destination.

Select a Destination Archive
The Document Viewer will display, with the fields from the selected archive.

Index the Document from the Document Viewer
If you are indexing multiple documents, or you need to switch the targeted Archive, click the Action menu in the Viewer, then Index to open and select a new Destination.
Changing the Destination