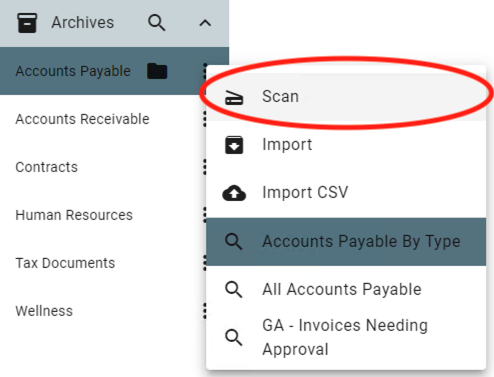
Scan
Documents may be scanned directly from your desktop TWAIN scanning device into GlobalSearch using the Scan function. Scan requires that GlobalSearch Extensions be installed on your desktop, and a scanner has been selected. With these requisite steps completed, clicking Scan will communicate with the selected TWAIN-compliant scanner and initiate a scan process. Once configured, you can leave these settings until the next time you need to change either your scanner or scanner settings.
Note that scanning in this manner does not allow you to route documents through a GlobalCapture workflow. This is a direct capture function that sends documents directly to an Archive where they can be opened and indexed
To scan directly from a locally attached TWAIN device into an Inbox or Archive, load the document into your scanner feeder.
Scan settings are variable, depending on the type of scanner being used. GlobalSearch supports capturing documents using any scan settings provided by the specific device you have enabled. Take special care when scanning large documents, or documents that might involve color pages. Generating large files as a result of high page counts, large dimensions (wide-format scans), and color pages can impact overall system performance.
When done scanning, the file it is uploaded.
If you are scanning to an Inbox, the document will appear in the Inbox ready for indexing.
If you are scanning to an Archive, the document displays, in which case you can use KeyFree Indexing to automatically add indexing data to your Fields.
Click Save to save the document with any associated indexing data. The document and data are saved, the indexing interface is closed, and you are returned to the main interface, where you can continue working with documents.
The recommended scanning resolution for documents scanned into the system is 300 dpi. It is also recommended that for basic bitonal images, that you use the black and white setting as compared to gray scale or color. This will result in a much smaller file size and improve the overall quality of the user experience.


