
Public Portal Search Results View
Your search results appear in a compact list or "Grid" to efficiently view many records at a glance. From the Grid, you can easily open, sort, filter, and view documents.
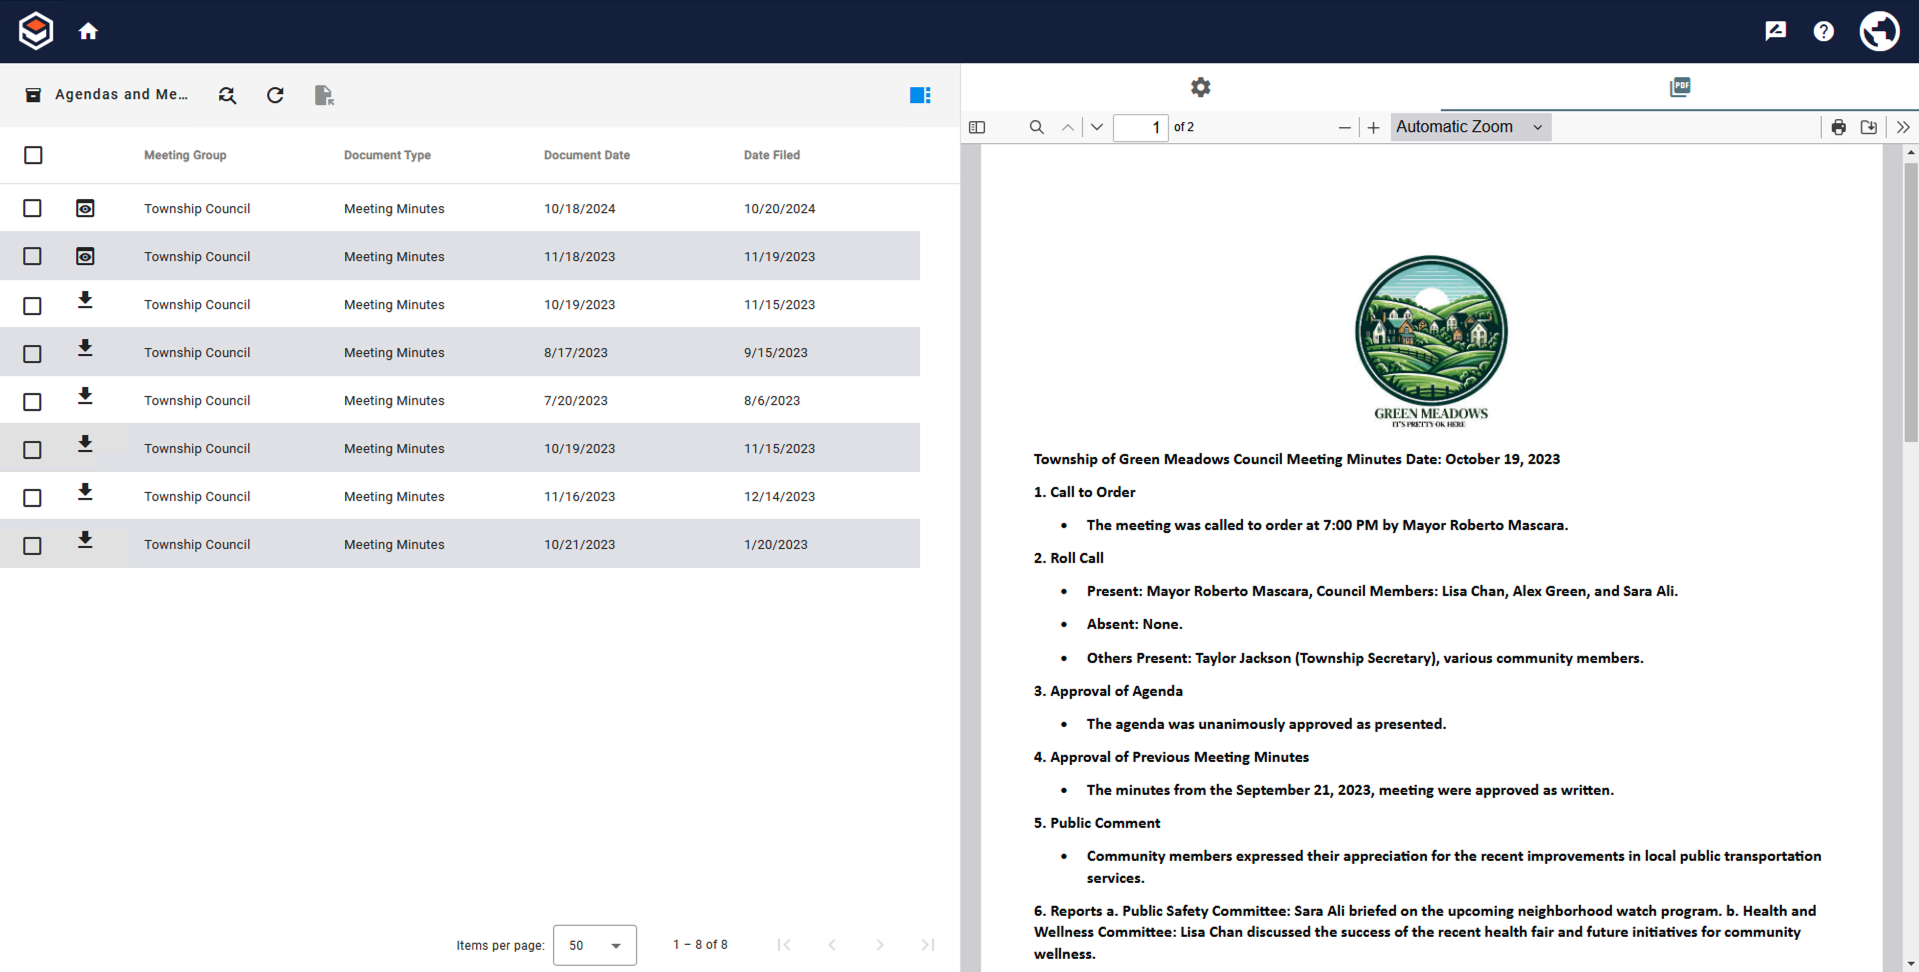
Search Results Page
GlobalSearch Toolbar
The GlobalSearch Toolbar remains at the top of the browser window regardless of what functions you are performing. This toolbar allows you to easily access functions that stretch across the different GlobalSearch views. While the toolbar largely remains unchanged from the one that appears on the Dashboard, the Search Results View and the Document Viewer as an additional icon.
Home (
 ) - Returns you to the Dashboard. This icon only appears in the Search Results View and the Document Viewer.
Search Results Toolbar
Search Results Toolbar
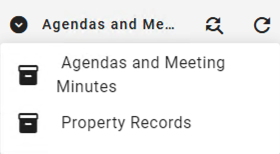
Archive Search Results (
 ) - Displays the name of the archive currently being displayed. If multiple archives return results, a dropdown list of archives becomes available.
 Refine Search (
 ) - Open the search prompt and retain the data that was entered to return the existing results. Add additional data to refine your search results.
Refresh (
 ) - Check for newly added documents that meet your pervious search criteria without opening the search prompt.
Multi Archive Search Results
Open Documents (
 ) - Opens the selected document(s) in a single viewer.
Toggle Right Sidebar (
 ) - To the right of the search results, the Search Results View Sidebar on the right allows you to control how your search results are displayed and preview a document.
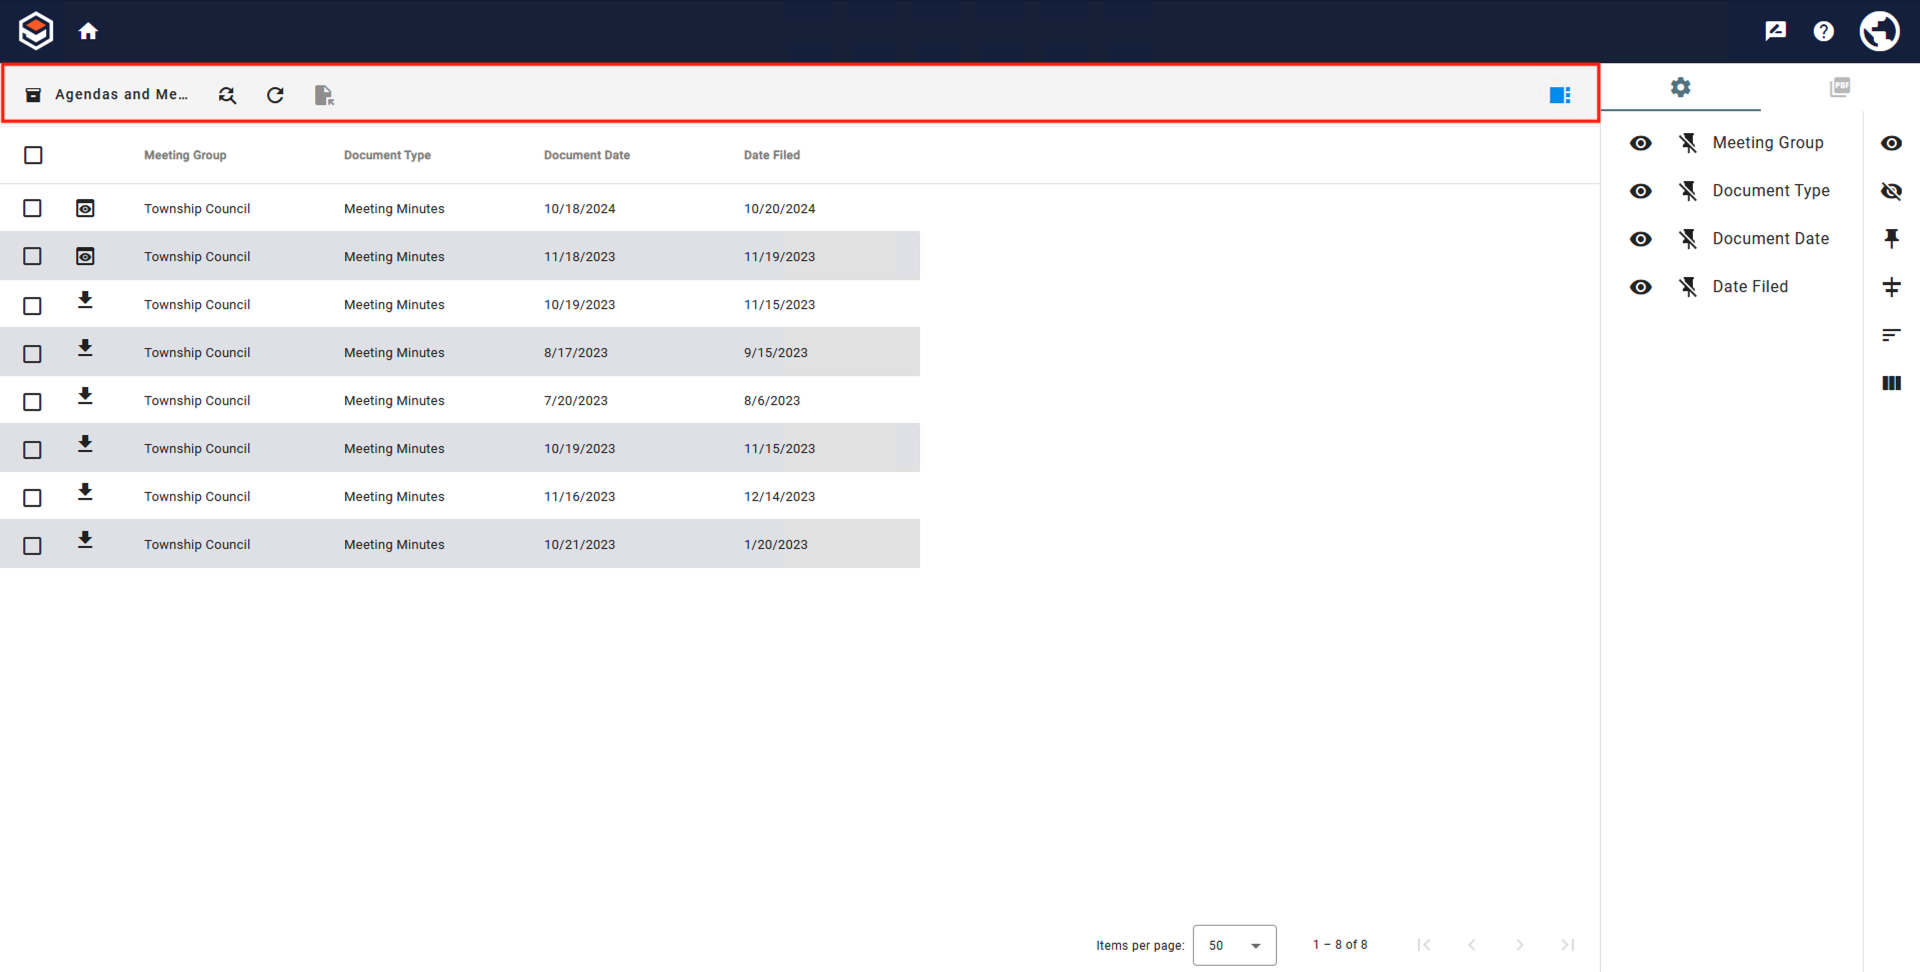
Grid Settings (
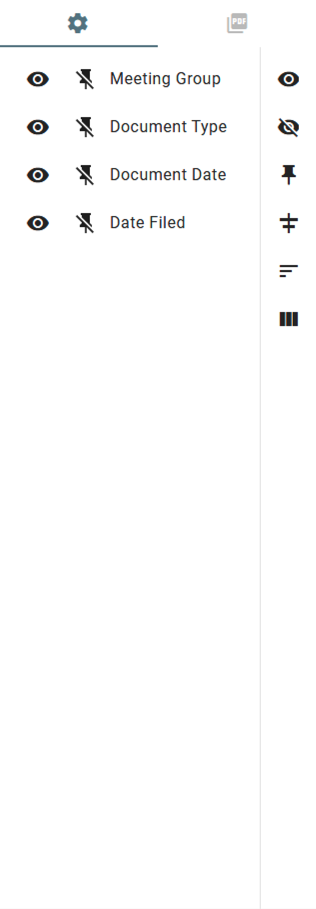
 ) - Configure how the columns of Index Field values display in the Search Results View.
Column Visibility – Show or hide individual Index Field columns in the Grid View using the Visibility toggle switch. (The default is to display columns.)
The Visibility (
 ) icon indicates that the column is visible and the Hide (
  ) icon indicates that it is hidden. Click the icon for individual Index Fields in the Column Settings List on the left or click on the Show All Columns ( ) or Hide All Columns ( ) icon in the Column Settings Sidebar on the right.
Column Pinning – Pin a column to the left-hand side or right-hand or of the Document List so that the column is always visible when scrolling across rows of records using the Pin (
 ) switch. (This is off by default.)
 This is a three-way switch:
The Pin Left (
 ) icon indicates that a column is pinned to the left side of the Document List.
 The Pin Right (
.png?inst-v=322eb5ef-524a-4fa1-8d18-53b48afcbdcd) ) icon indicates that a column is pinned to the right side.
) icon indicates that a column is pinned to the right side.The Unpin (
 ) icon indicates that pinning is cleared. Click the icon for individual Index Fields in the Column Settings List on the left or click on the Unpin All Columns ( ) icon in the Column Settings Sidebar on the right to clear pinning from all of the Index Field columns.
Fit to Column Width (
 ) – Click the Fit to Column Width icon to resize all column widths based on the data in the cells.
 Remove All Sorts (
 ) - Removes any sorting applied to the columns.
Reset Layout (
 ) - Click the Reset Layout icon to restore column widths.
Preview (
 ) - Clicking the Preview icon displays a preview of the document without opening the document into the document viewer or a PDF preview window. View thumbnails of the pages, search the document, scroll through its pages, and print or export directly from the Search Results View.
If a preview of the document is unavailable and download privileges have been enabled, the Download ( .png?inst-v=322eb5ef-524a-4fa1-8d18-53b48afcbdcd) ) icon will appear and the document can be downloaded.
) icon will appear and the document can be downloaded.
Right Sidebar: Grid Settings

Right Sidebar: Preview Window
Search Results Grid
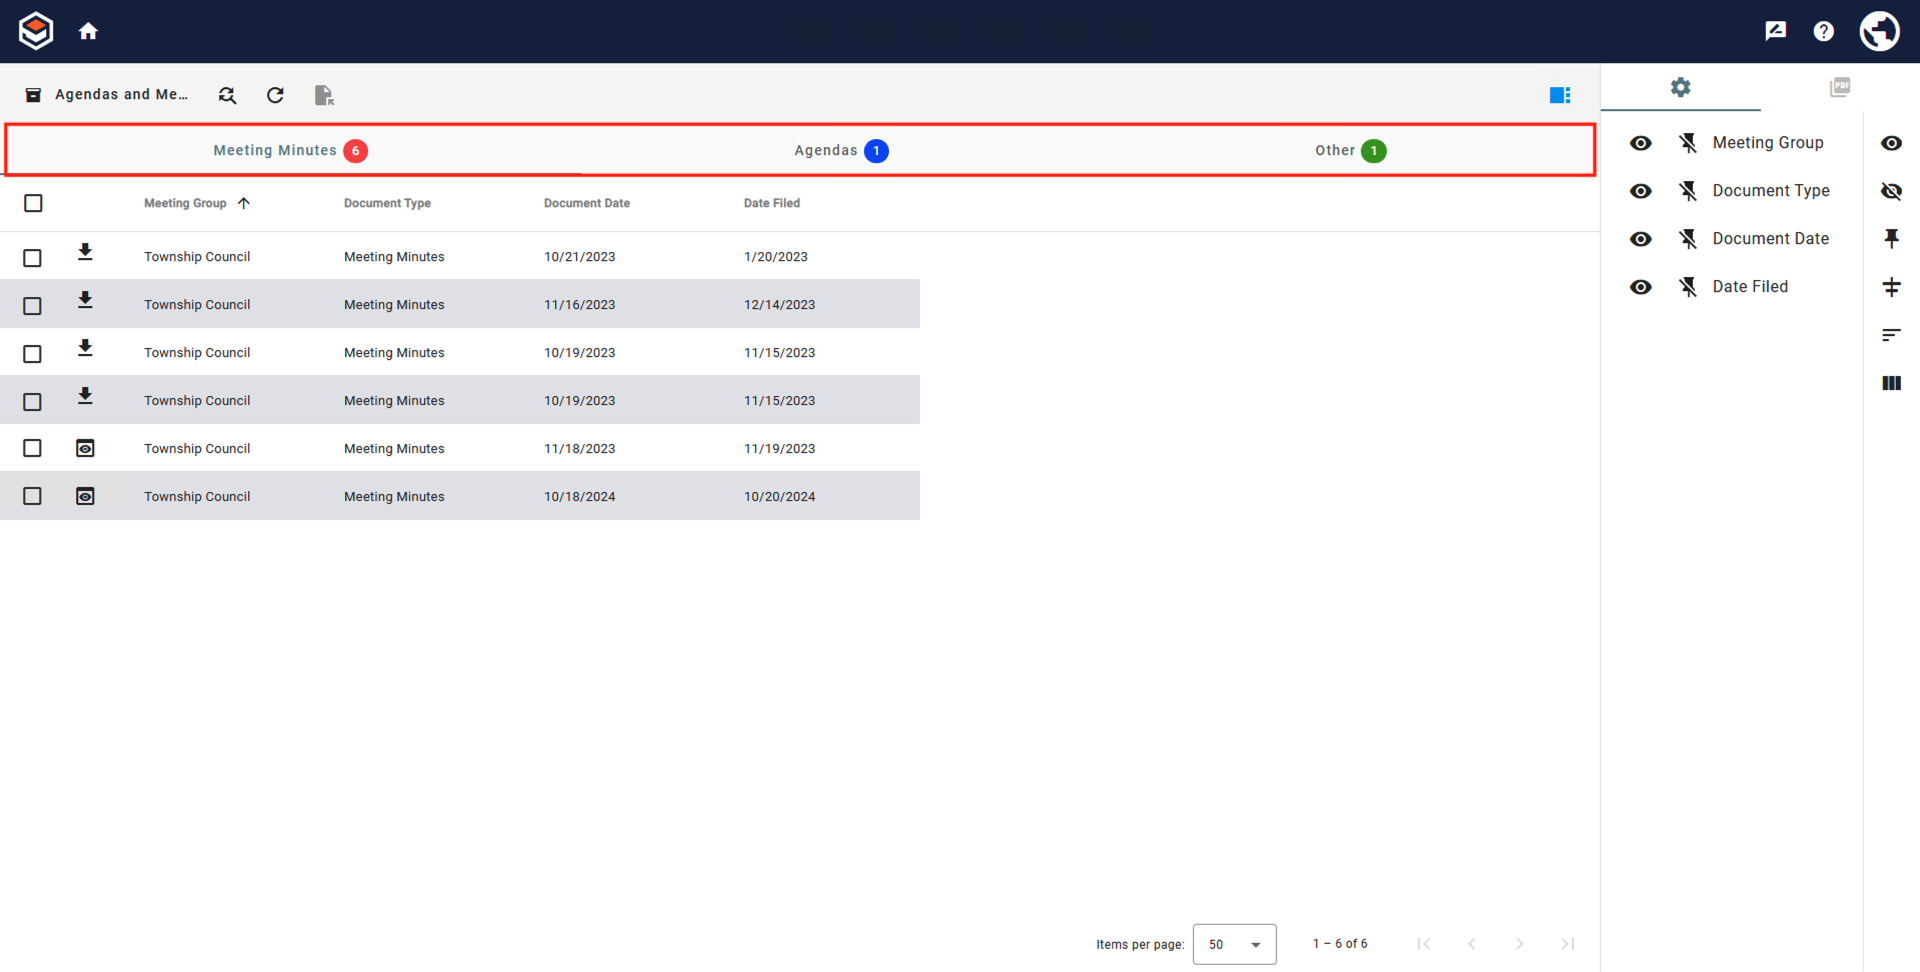
View Tabs
View Tabs - View Tabs allow for visual tab based grouping within a search result. These are only visible when configured by the system administrator and may not display on every search.
Index Fields- High value data associated with documents.
Sorting - Sort the list by newest first, alphabetically, or reverse alphabetically by clicking the name of the index field.
Click a column header to Sort results. A small black up arrow appears to indicate that results are sorted in ascending alpha-numeric order of the data in the selected column. Click the column header again to resort in descending order, indicated with a small down arrow icon. Click a third time to clear the sort.
To do additional Secondary Sorts, hold down your Shift key while clicking on other Index Field column header cells. Numbers will appear next to the small arrows to indicate which sort columns are primary, secondary, tertiary, etc.
Re-Arranging - Rearrange the order the columns appear in the grid.
Place your mouse cursor over the side of a header row cell and, when your mouse cursor turns into a Double-Arrow Move Cursor (
 ), drag the edge of a column to resize it. To change the column order, select a column header and drag it into a new location.
Filter - Use operator such as contains, greater than, etc. to further narrows down your search results.
You can further Filter your results without rerunning a search by selecting the Filter (
 ) option.
Over over the index field to filter by and select the Filter (
) icon.Select an Operator. None are case sensitive.
Enter text to filter your results.
Enter additional filters to broaden (OR) or narrow (AND) your results.
When a filter is applied, the Filtered (
 ) icon will appear next to the index field.
 To clear your filter, click the Filter (
) icon and clear out the prompt.

Sort

Multiple Sorts
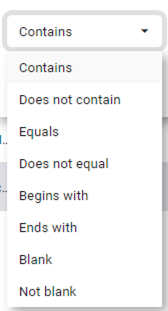
Filter Operators
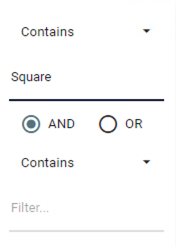
AND/OR Filters

Filtered Index Field
Operator | Enter at Prompt | Search Results |
|---|---|---|
Contains | Part or all of a word, phrase, or number. | Anything that includes what has been entered. Ex. “Square 9” will included ”Square 9” and ”Square 9 Softworks”. |
Does not contain | Part or all of a word, phrase, or number. | Anything that does not have what has been entered. Ex. ”Square 9” will exclude ”Square 9” and ”Square 9 Softworks”. |
Equals | Exact data you are looking for. | Only documents whose data matches exactly what has been entered. Must match all data in the field to be included. Ex. ”Square 9” will only return ”Square 9”, not ”Square 9 Softworks”. |
Does not equal | Exact data to exclude. | Only documents whose data does not match exactly what has been entered. Must match all data in the field to be excluded. Ex. ”Square 9” will still return ”Square 9 Softworks”. |
Begins with | The start of the data to look for. | Any results whose data starts with the indicated values. Ex. ”S” will return ”Square 9” and ”S9S” |
Ends with | The end of the data to looked for. | Any results whose data ends with the indicated values. Ex. ”ks” will return ”Square 9 Softworks” and ”Works”, but not ”Square 9 Softworks Inc”. |
Blank | No user prompt. | Returns only results where the index field being filtered is blank. |
Not blank | No user prompt. | Returns only results where the index field being filtered has data. |
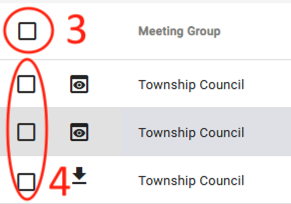
Select All Documents - Selects or deselects all the documents on the current search results page.
Document Selector - Selects the individual document for actions such as sharing, printing, exporting, etc.
Preview (
 )- Displays the document in the Right Sidebar under the PDF Preview tab.
If a preview of the document is unavailable and download privileges have been enabled, the Download ( ) icon will appear and the document can be downloaded.
Document Selector
Page Navigation- Use this to navigation through your results. You can jump to a Search Results page, click through pages, and set how many records per page are displayed.
Items Per Page - Choose the maximum number of records to appear per page in a Search. The default setting is 50. You can select 25, 50, 100, or 1000 from the list or you can set the default anywhere between 25 and 200 in the User Settings.
First/Last Page (
 ,
,  ) – Jump to the first or last page of the search results.
Previous/Next Page(
,  ) – Go to the next page or the previous page of search results.

Page Navigation
Table Fields
Table Field (
 ) - Indicates the index field is a table field in the grid view. Clicking the table field icon will display the documents data in a data table below the search results grid.
Data Table - Grid containing repeating document table fields.
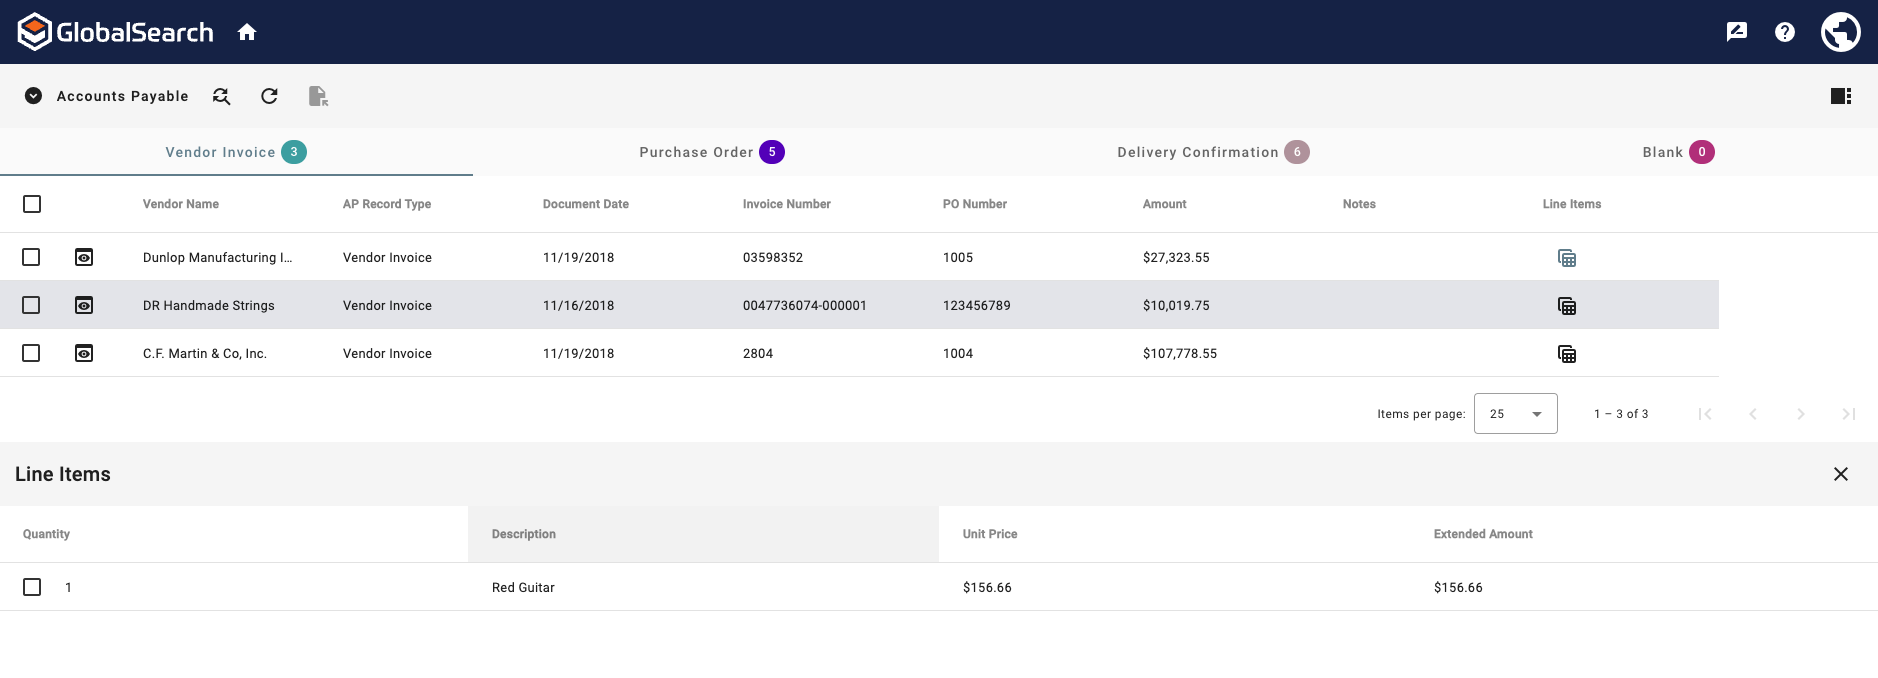
Table Data
Multi-Value Fields
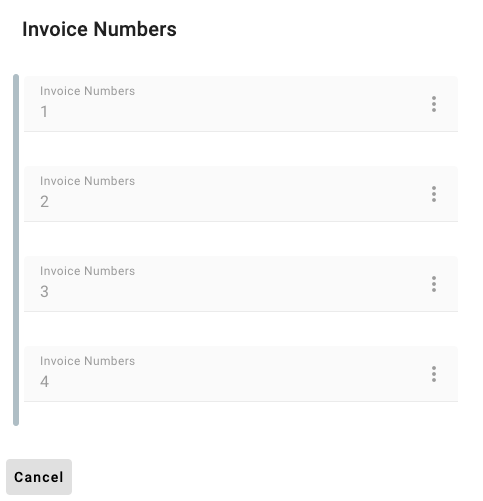
Multi-Value Field (
 ) - Indicates a field that can hold multiple, discrete values.
Cancel - Close the Multi-Value Field Window.
Multi-Value Field Values
Resetting
To clear the sort, either click the arrow again in each header cell or click Reset Layout ( ), which is found in the Grid Settings.