
Guest Access and Dashboards
GlobalSearch natively supports public access experiences. To enable unauthenticated, public access to GlobalSearch, first enable the Guest user account in User Management.
Dashboards provide a card style display for gaining access to your most common searches. While dashboards are intended to give public/guest users a simple navigation experience within the product, dashboards may also be used for internal users. Cloud users have the ability to manage Dashboards directly from the Cloud Administration management page.
Guest Access
Enable Guest Access in the Cloud Administration Dashboard
Login to GlobalSearch as a user with administrative privileges.
From the Administration(
 ) menu in the GlobalSearch toolbar, select Administration.
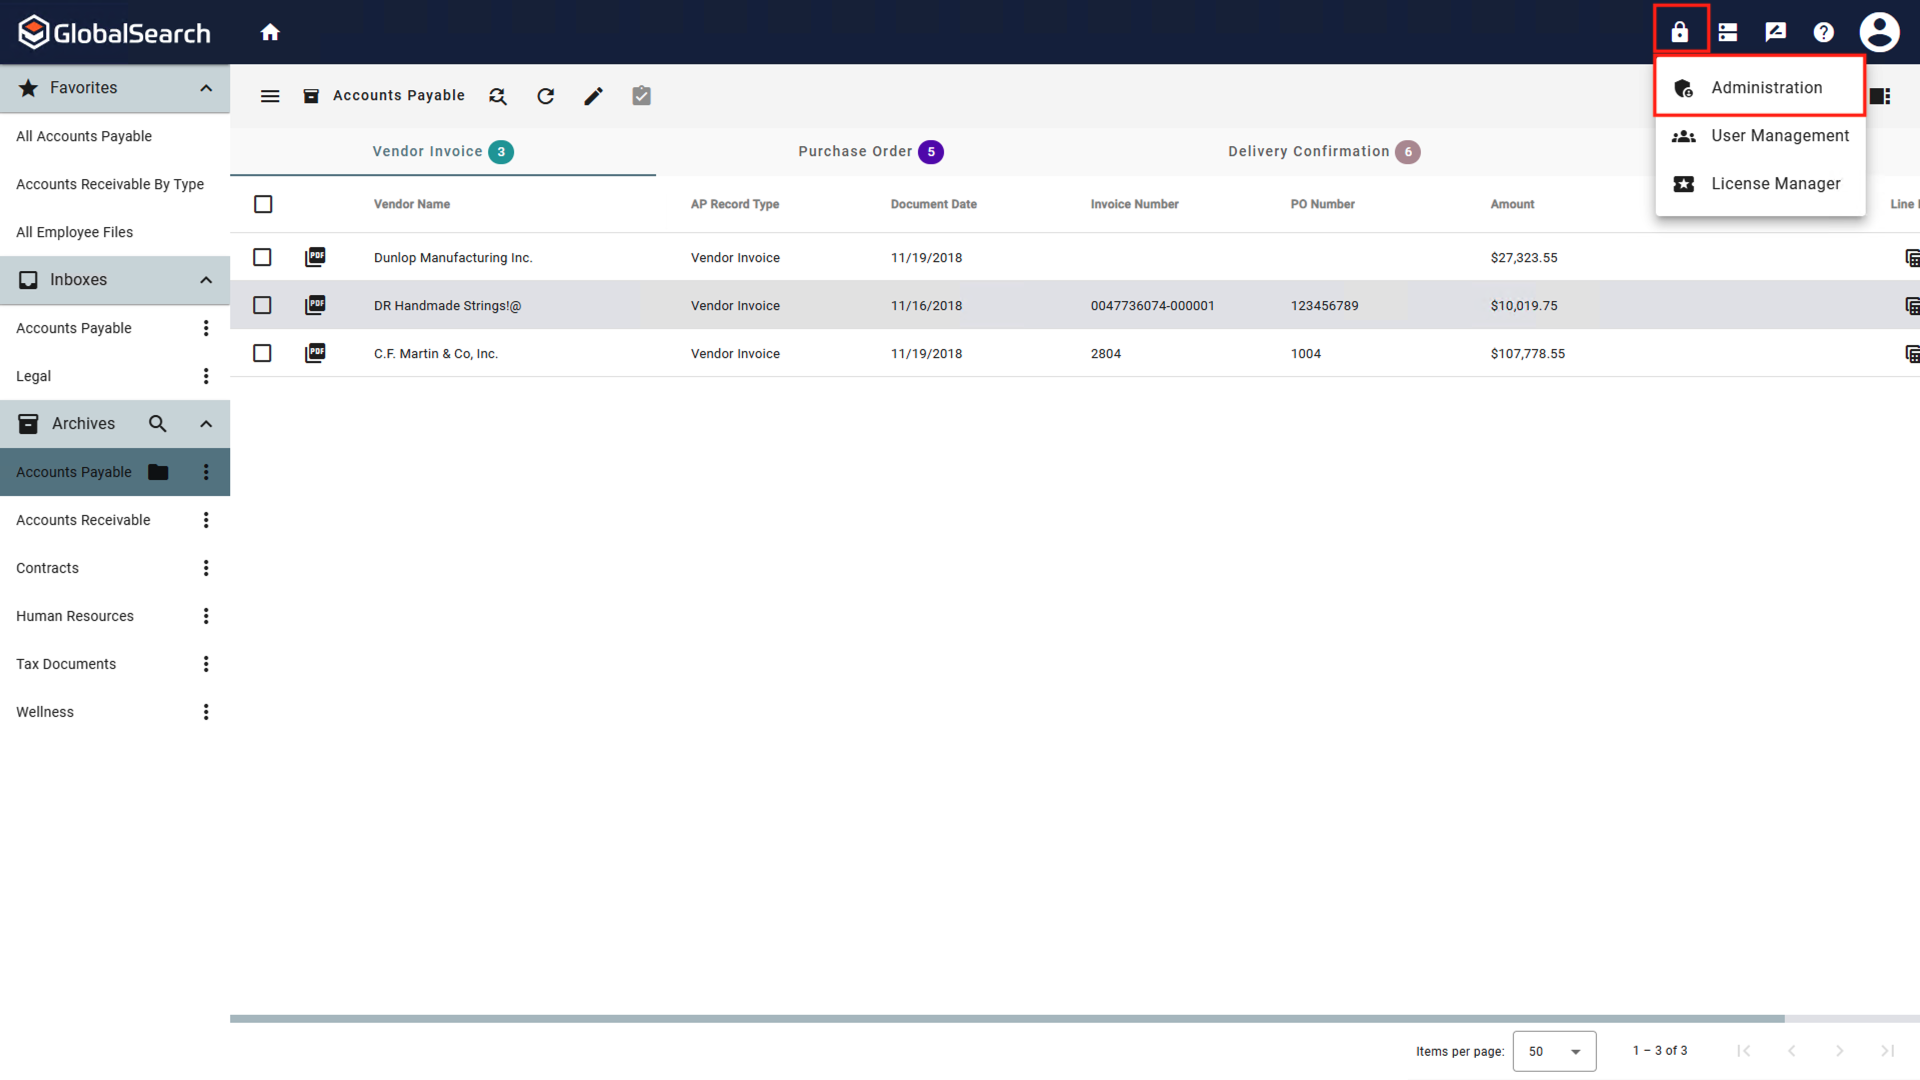
Access the Administration Page
Using the Links (
 ) menu in the GlobalSearch toolbar, select Dashboard from the dropdown list.
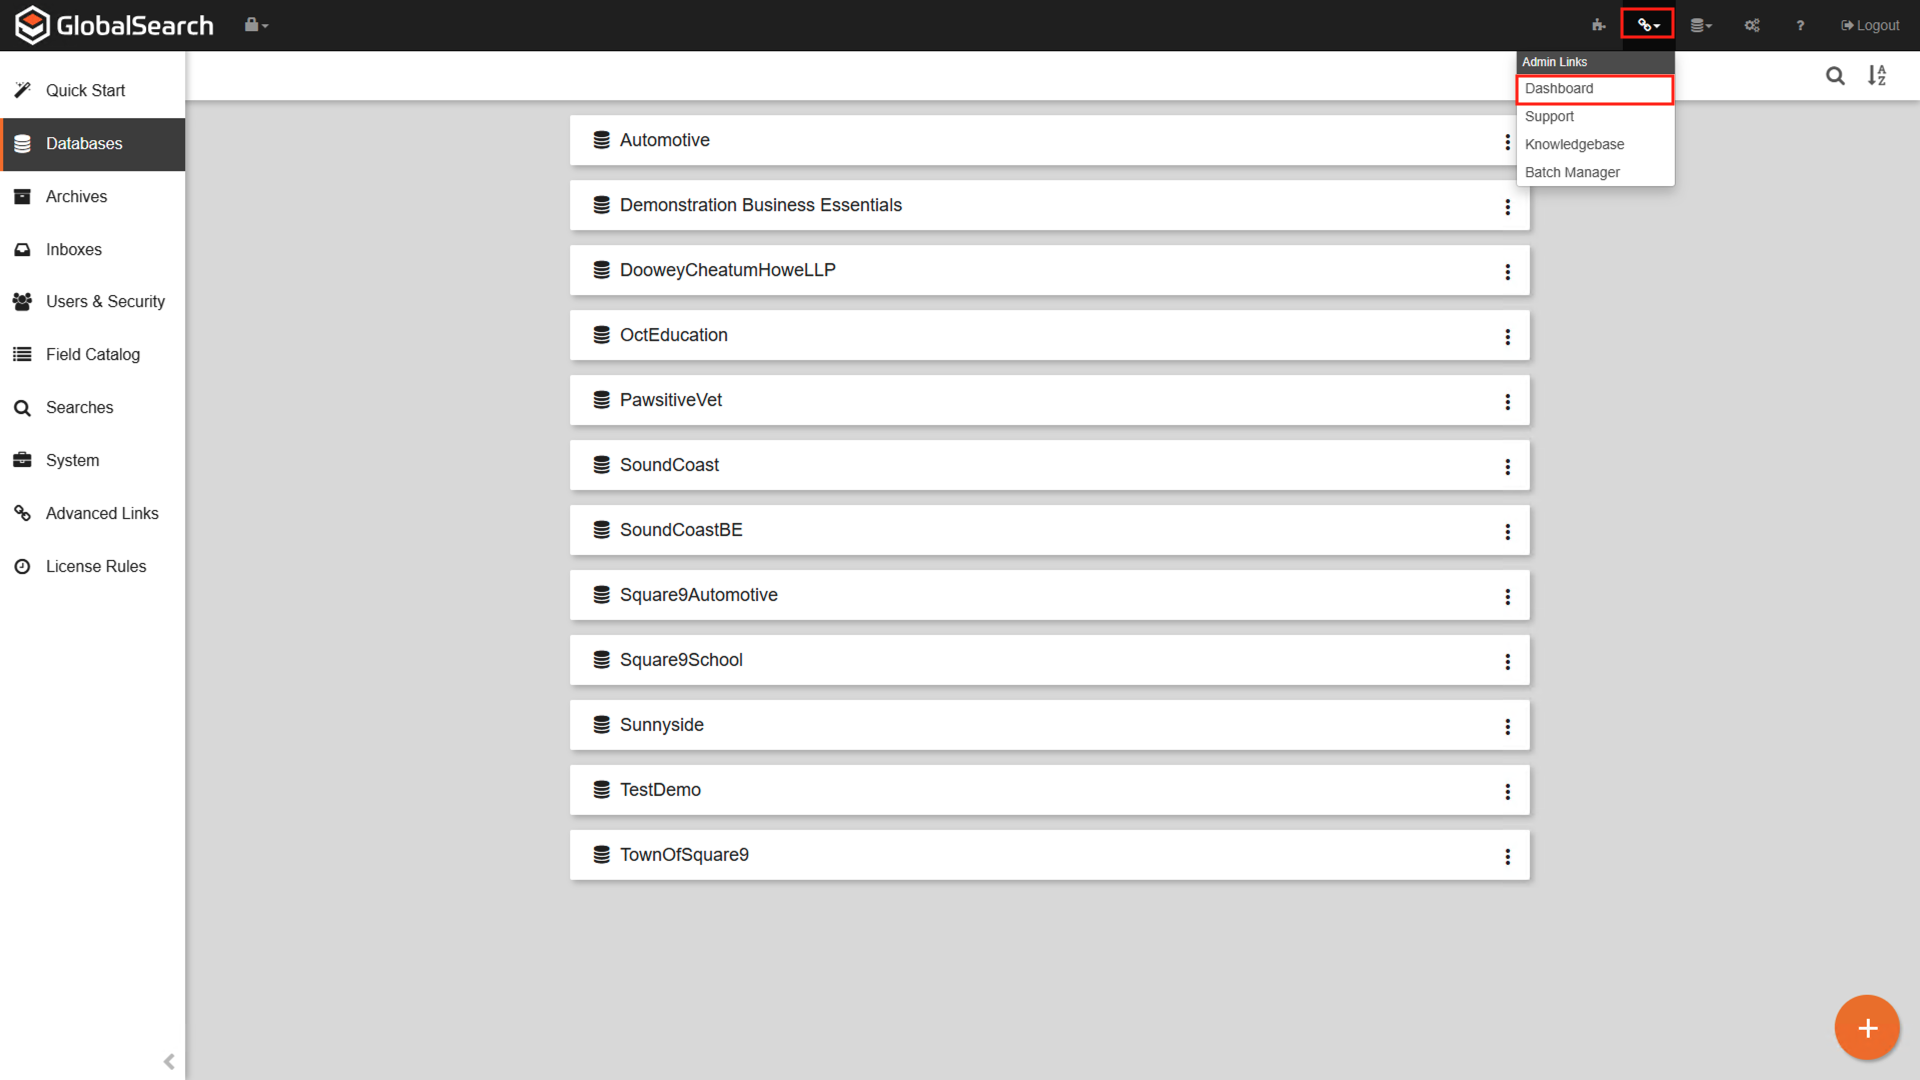
Administration Page
From the Cloud Dashboard menu on the left, click Guest Configuration (
 ).
).
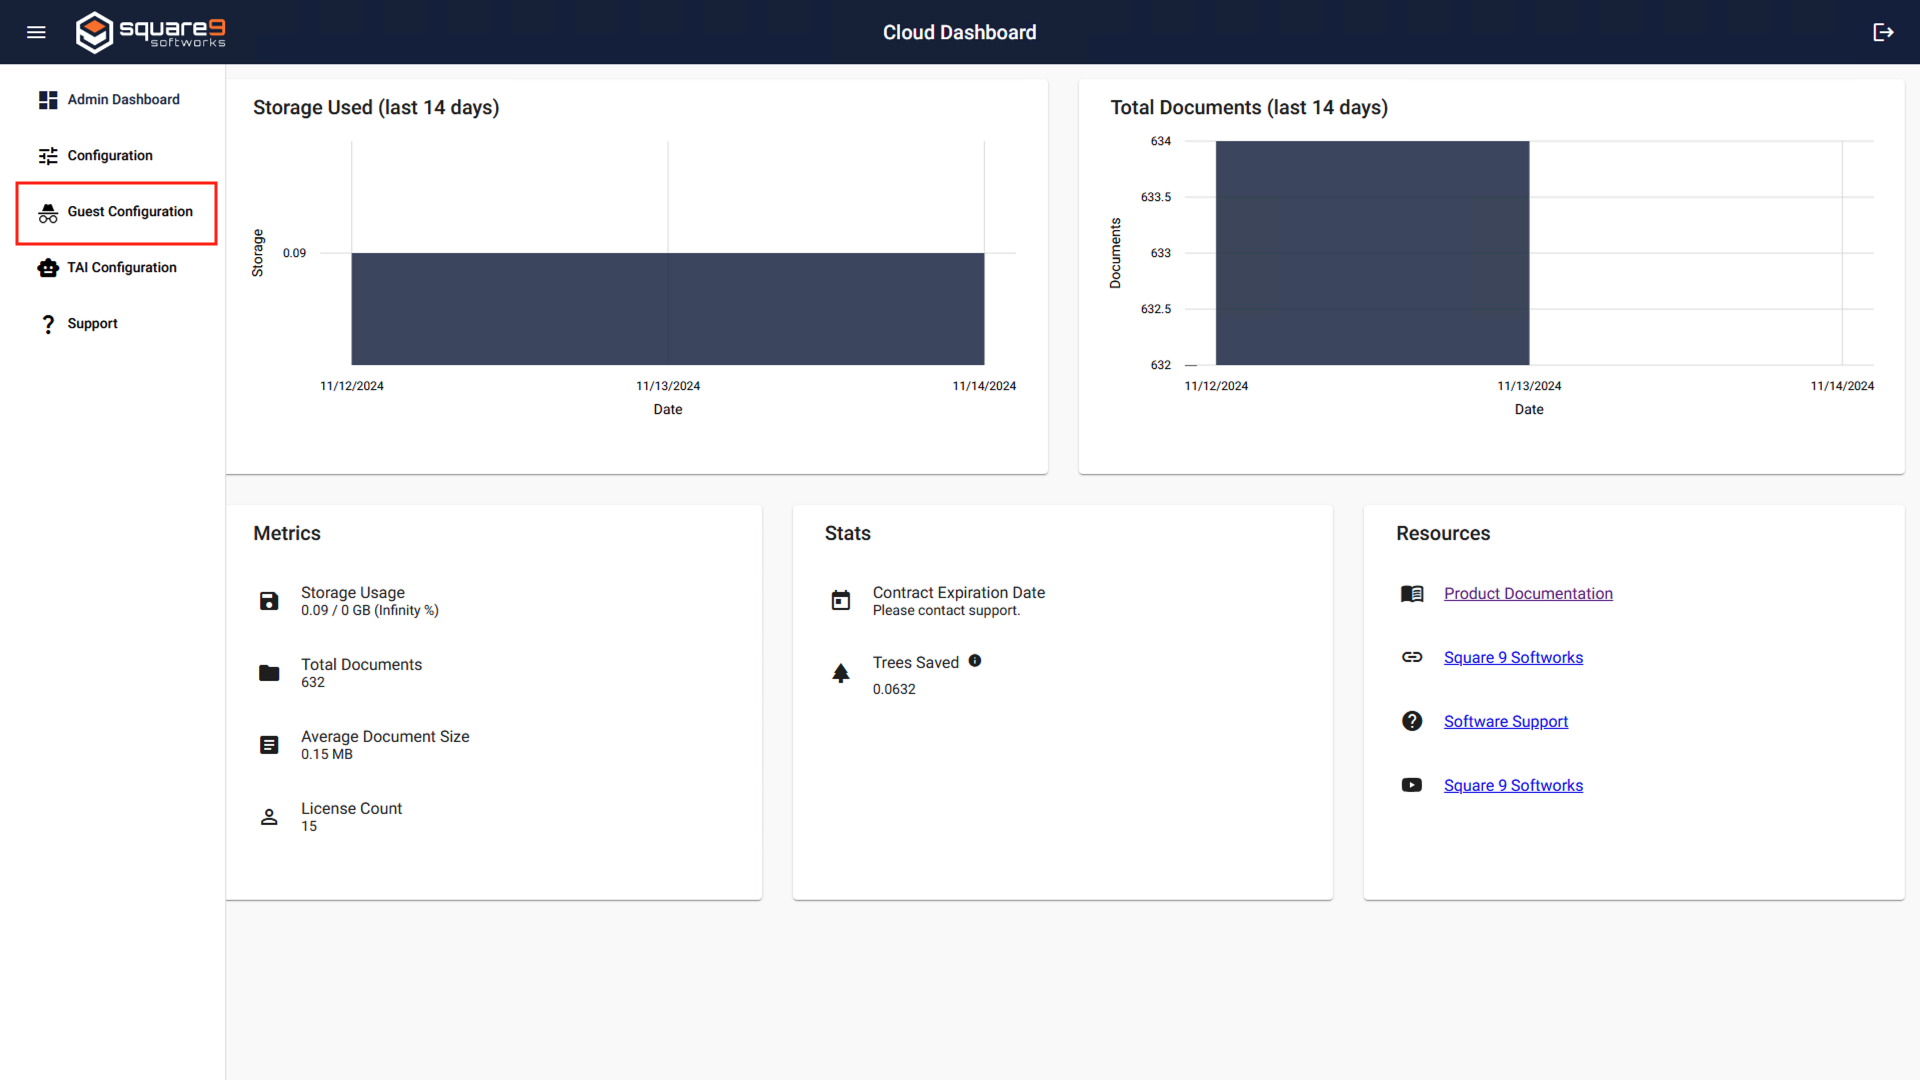
Cloud Dashboard Admin Dashboard
Under Guest Options, click the toggle to Enable guest login button to on.
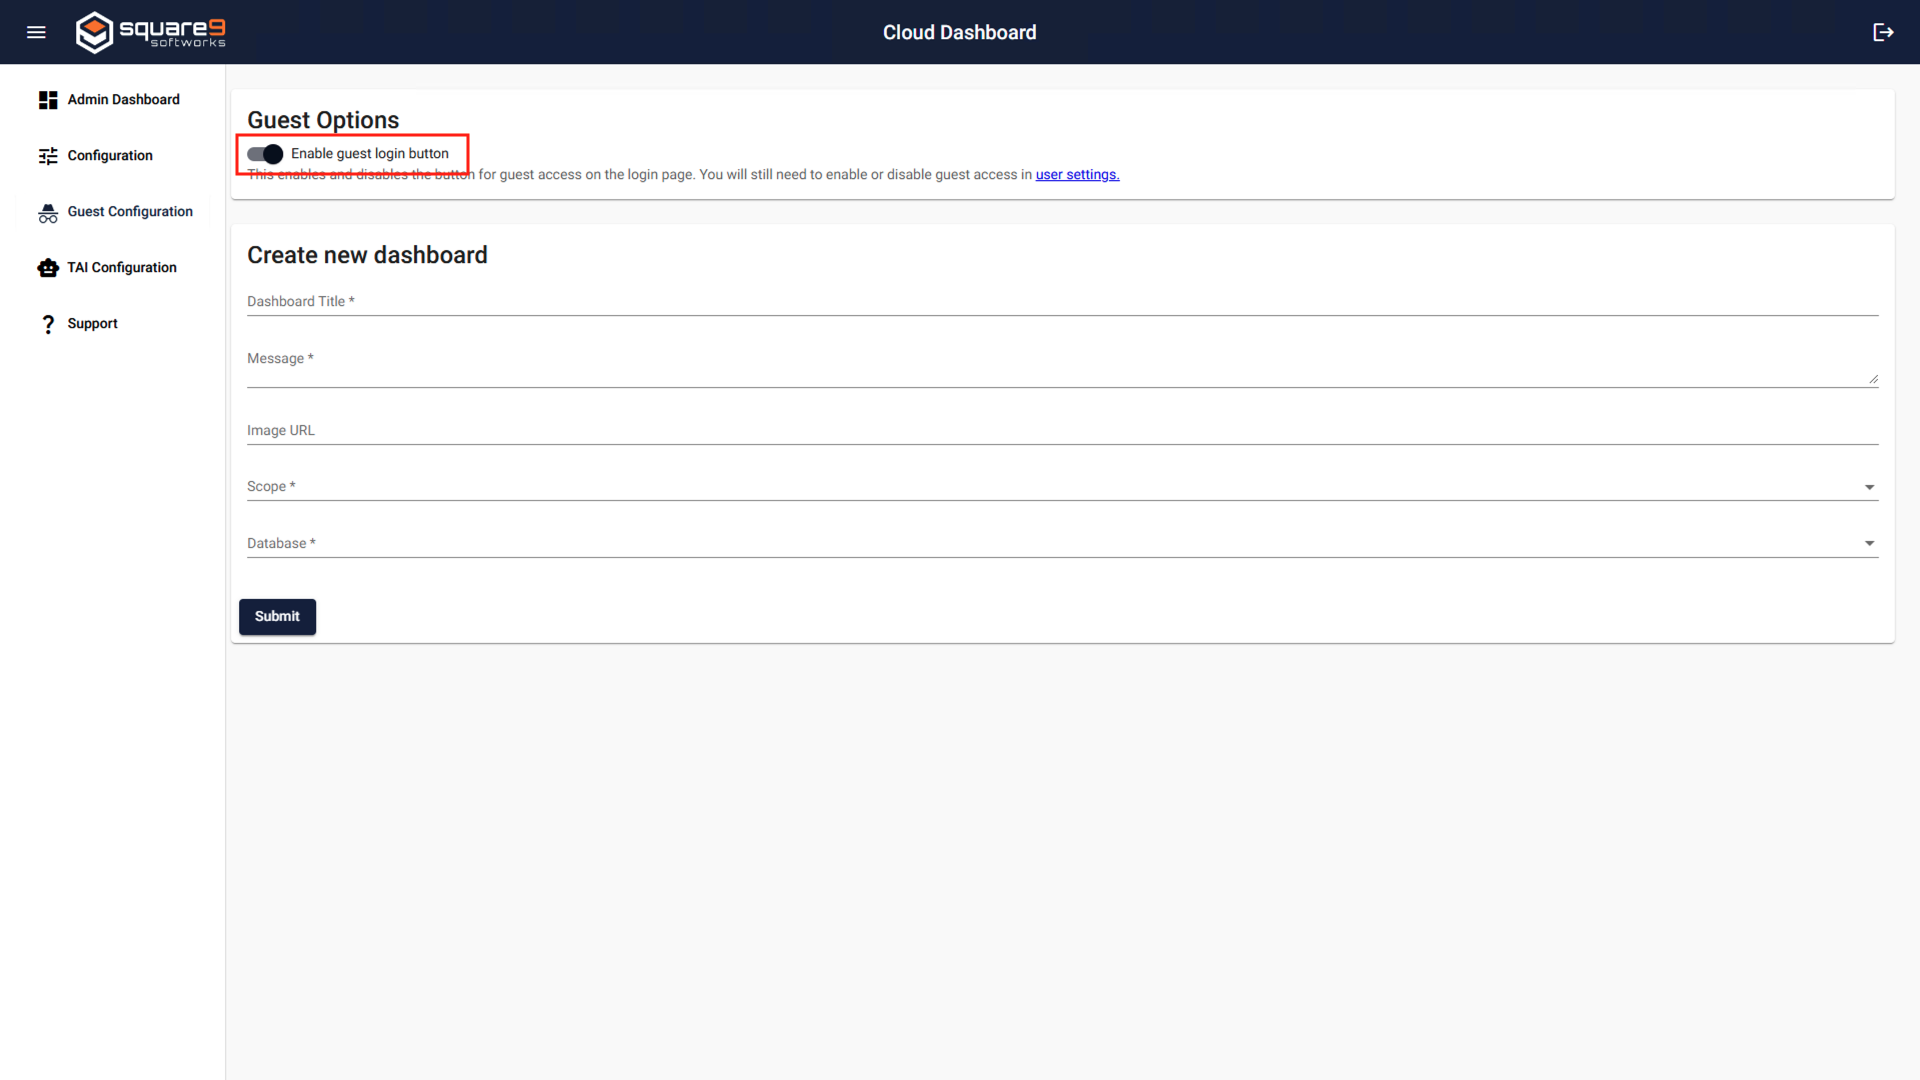
Guest Configuration Page
Enable Guest Access in User Management
Login to GlobalSearch as a user with administrative privileges.
From the Administration(
) menu in the GlobalSearch toolbar, select User Management.
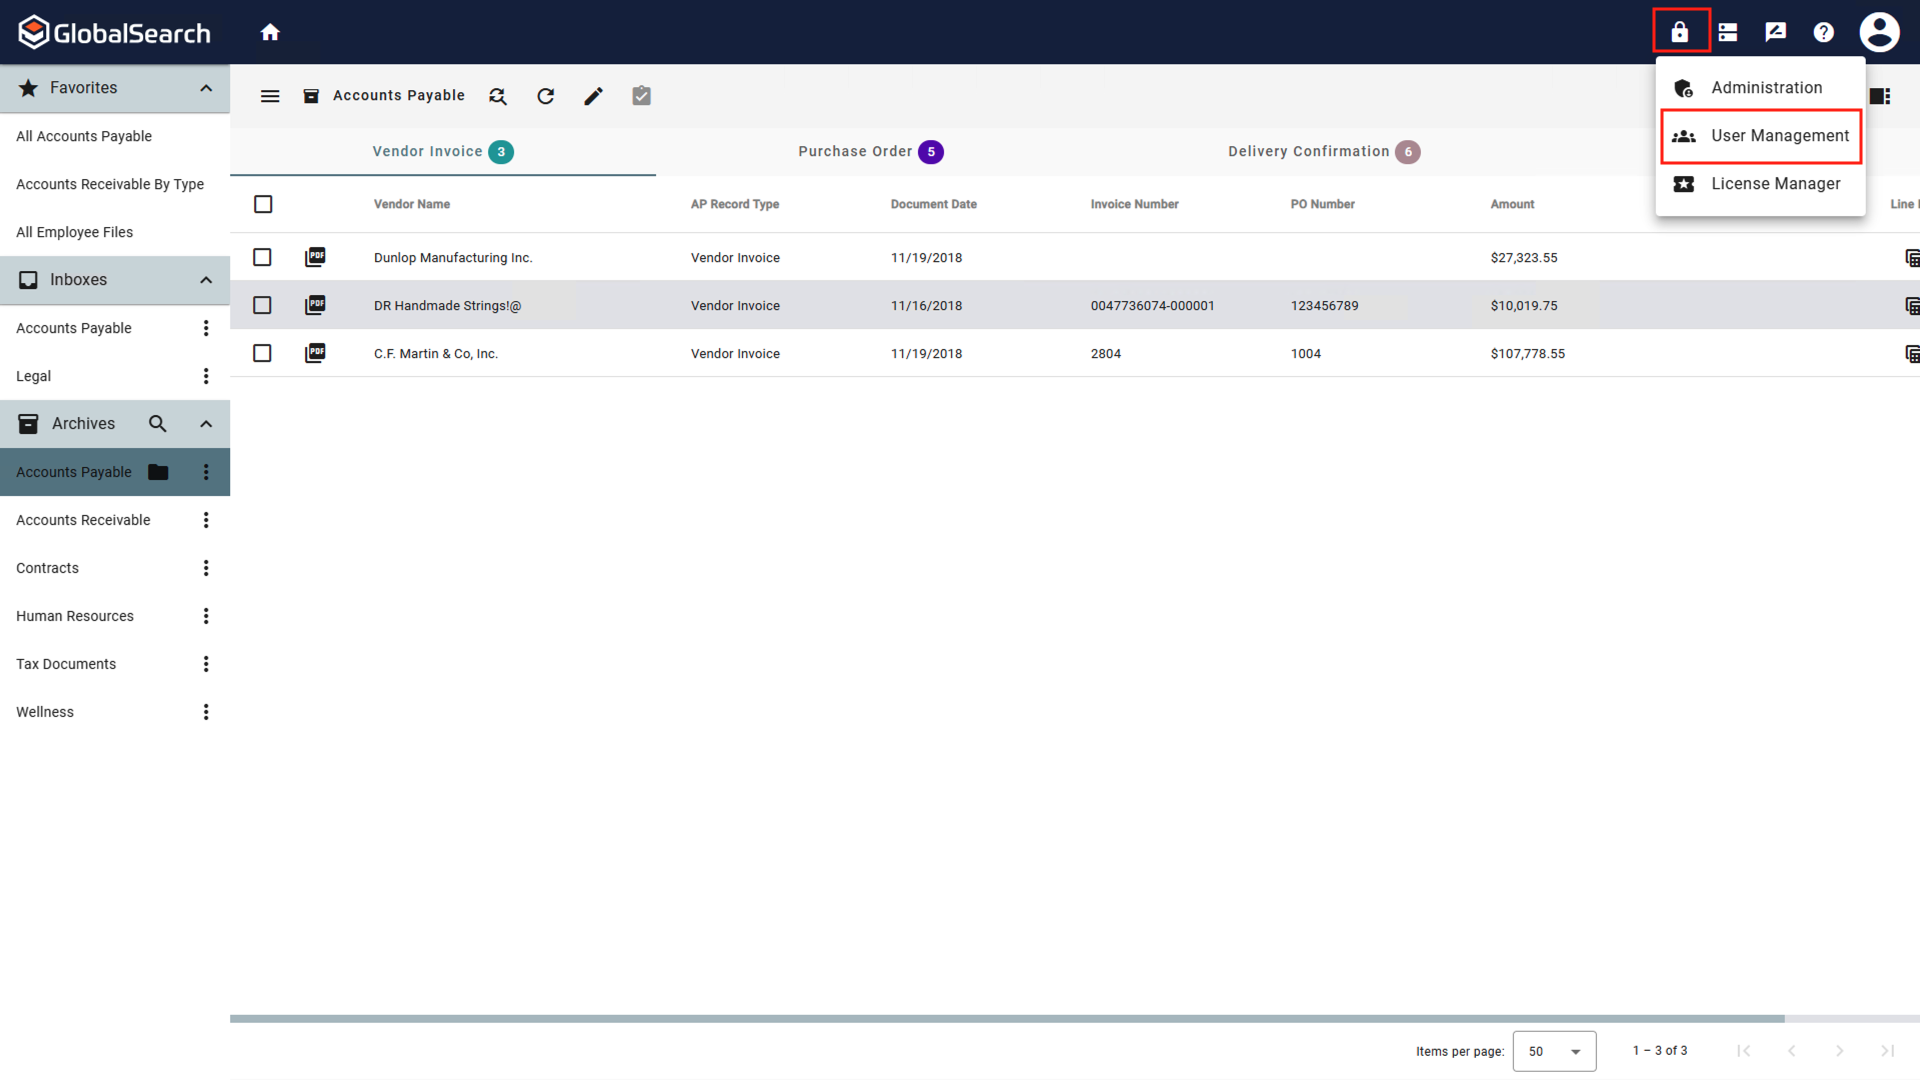
Access the User Management Page
In the Users and Groups pane, click the Edit (
 ) tab.
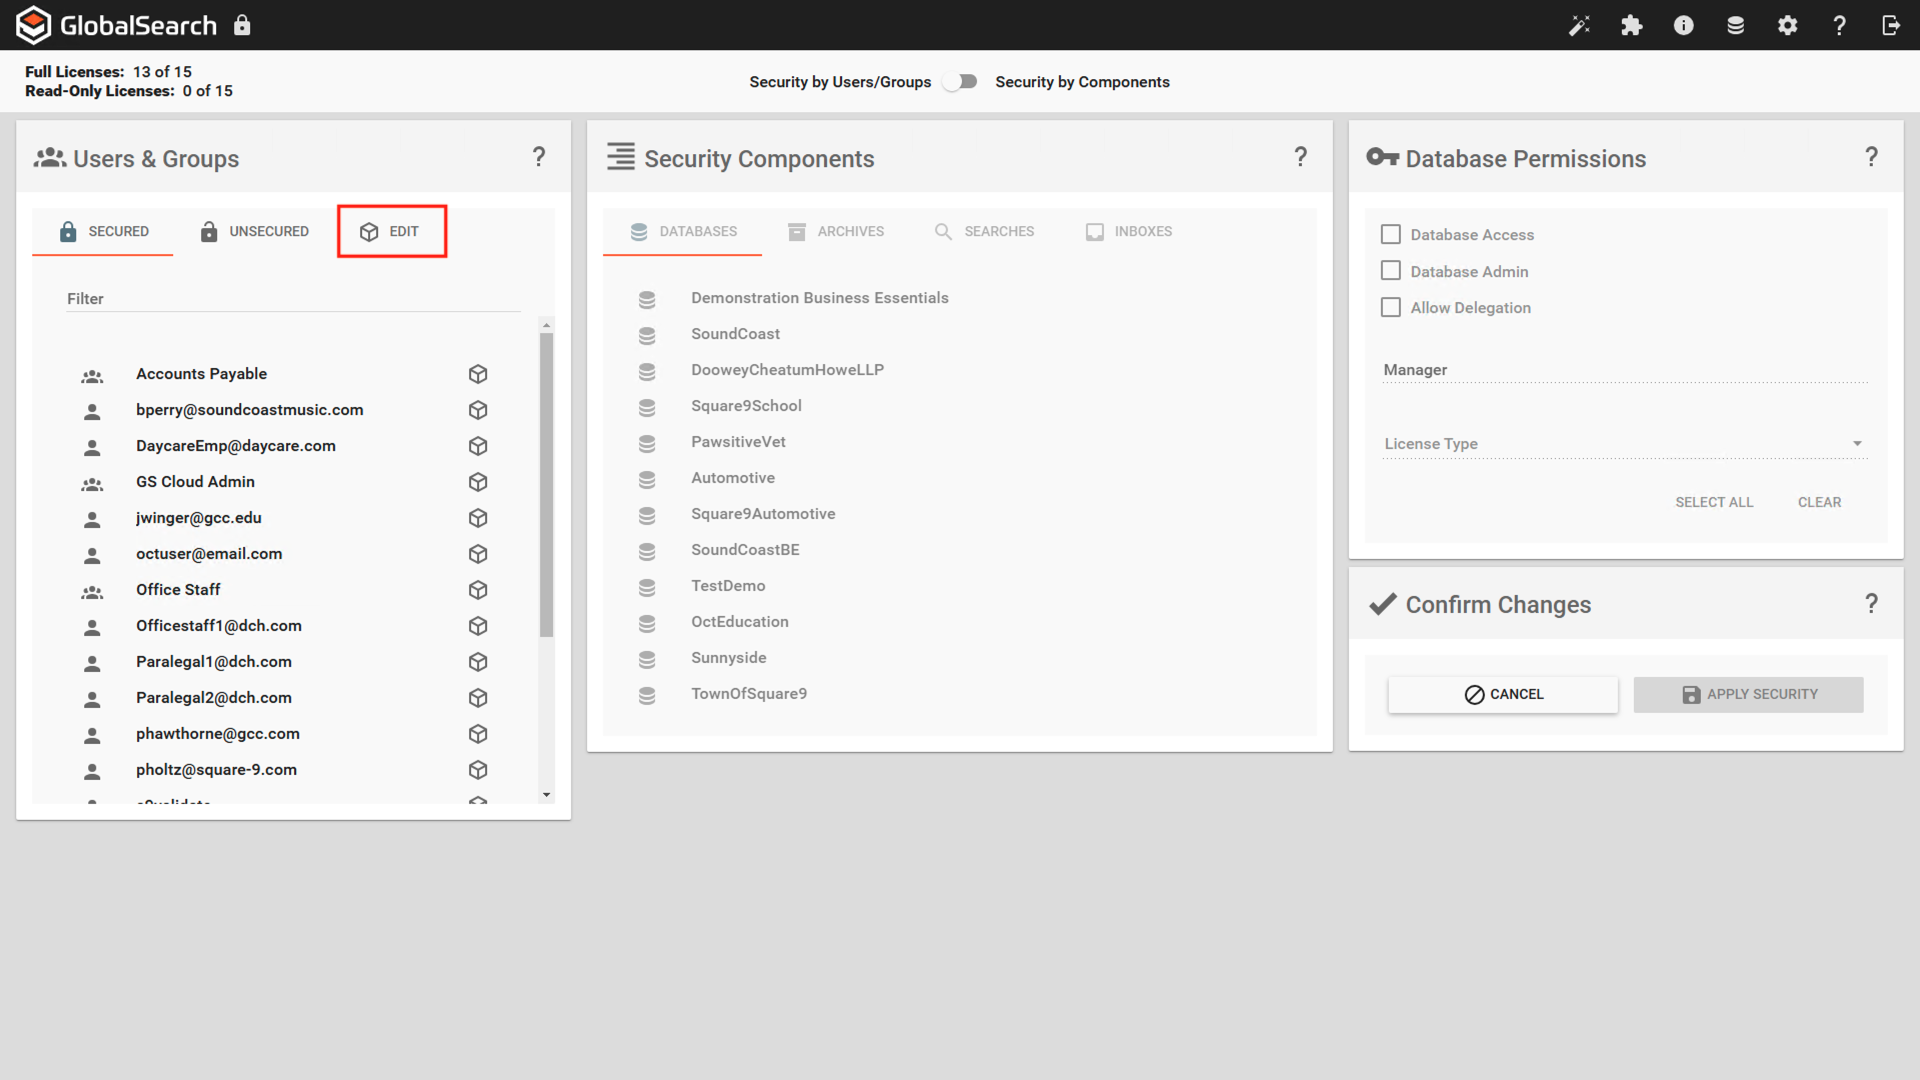
User Management
Toggle Guest User Enabled to on. This will add the Guest user to the Unsecured tab.
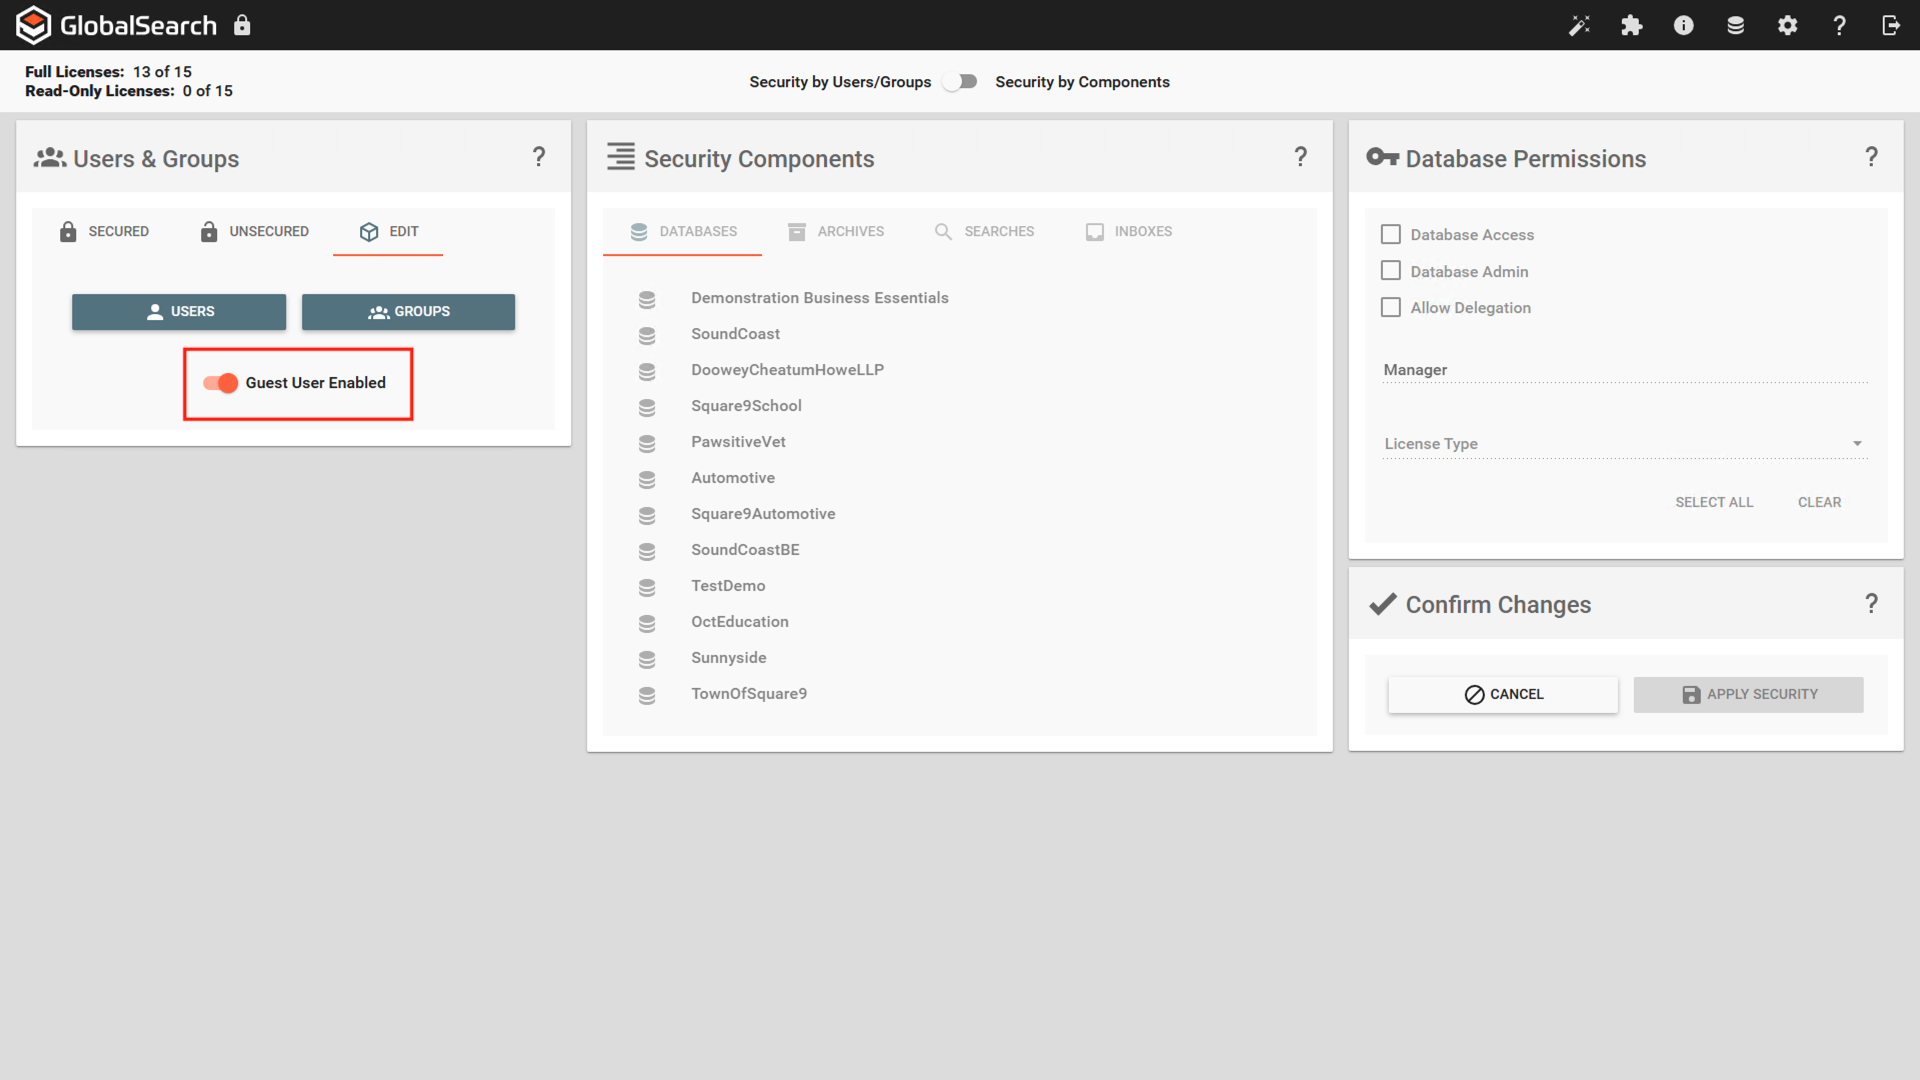
User Management Edit Tab
Secure Guest User
The Guest User needs to be secured to the appropriate Databases, Archives, and Searches to allow for guest users to access document.
Database Access
To assign the Guest user a license and provide access to one or more databases, you must assign Database Access. Click here to learn how to Assign Licenses and assign Database Access.
Archive Access
Archive security is specific to the Archive. Users must be granted access to an archive to view the documents within the archive. Click here to learn how to Manage Archive Security.
Search Access
All documents in an Archive are located and viewed using a Search. Click here to learn how to Manage Search Security.
You should now see the Login as Guest option on the login page.
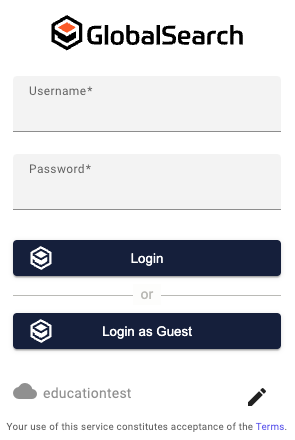
Login Window
Dashboards
Dashboards provide a card style display for gaining access to your most common searches. While dashboards are intended to give public/guest users a simple navigation experience within the product, dashboards may also be used for internal users. Cloud users have the ability to manage Dashboards directly from the cloud admin management page.
Note: Dashboards support markdown and images to allow for customization.
Configure a Dashboard
Login to GlobalSearch as a user with administrative privileges.
From the Administration(
) menu in the GlobalSearch toolbar, select Administration.
Using the Links (
) menu in the GlobalSearch toolbar, select Dashboard from the dropdown list.
From the Cloud Dashboard menu on the left, click Guest Configuration (
).
Give your dashboard a Title that is meaningful to the users who will access this dashboard.
Give your dashboard a Message.
Note: Use your message to convey to your users important information. If you are using this as a public portal for non-employees, those users may need additional guidance. You can provide this guidance here. Consider including some contact information for questions about using the portal.
Add an Image to your dashboard by providing a URL to your image.
Keep in mind if the image source is changed or removed, this will impact the image on your dashboard. Best practice is to use an image URL that you control.
Select a Scope. These are the users that will see this dashboard when logging into GlobalSearch.
Everyone - All users will see this dashboard upon logging in.
Users - Only authenticated users will see this dashboard.
Guest - Only guest users will see this dashboard.
While you can create multiple dashboards, only one dashboard will be displayed per database. Dashboards scoped as Guest and Users will take priority over dashboards scoped for Everyone.
Dashboards are listed in the order they are created. If multiple dashboards exist for the same scope, the one closest to the top of the list will be displayed.
It is best practice to only create one dashboard per scope per database.
Select a Database. Each dashboard can only display searches and results for a single database.
Note: you can create dashboards for each database.
Click Submit. You will see a preview of the dashboard below the Create a new dashboard pane.
Adding Search to the Dashboard
If a search is enabled as a dashboard search and no dashboard is configured for the database, a generic dashboard head is displayed.
Login to GlobalSearch as a user with administrative privileges.
From the Administration(
) menu in the GlobalSearch toolbar, select Administration.
Select Searches (
 ).
).
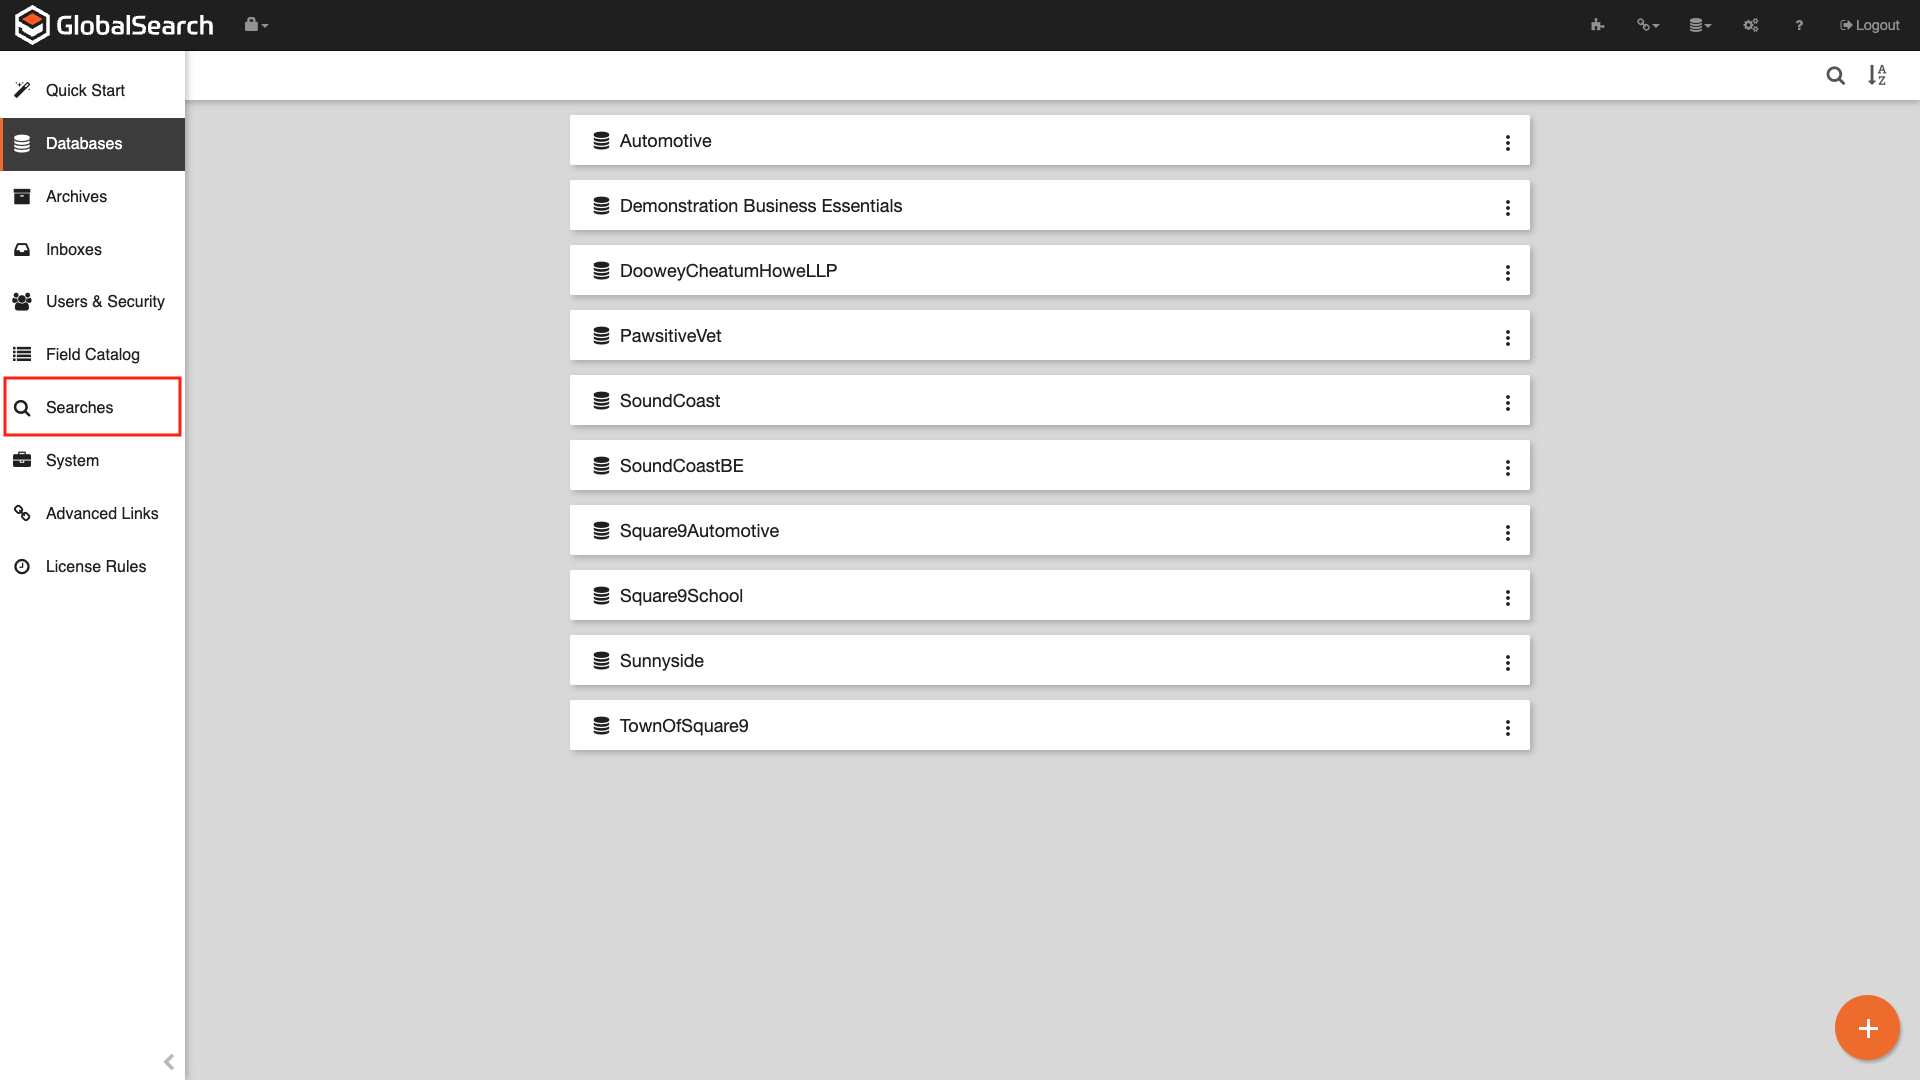
GlobalSearch Administration Page
Select your Database from the list and Create a New Search using the orange Add Search button (
 ) to create a root search, by clicking the Ellipsis (
  ) next to the archive in which to create the search and selecting New Search, or by modifying an Existing Search by clicking the Ellipsis ( ) next to the search and selecting Edit.

New Archive Search

Modify an Existing Search
Click Advanced.
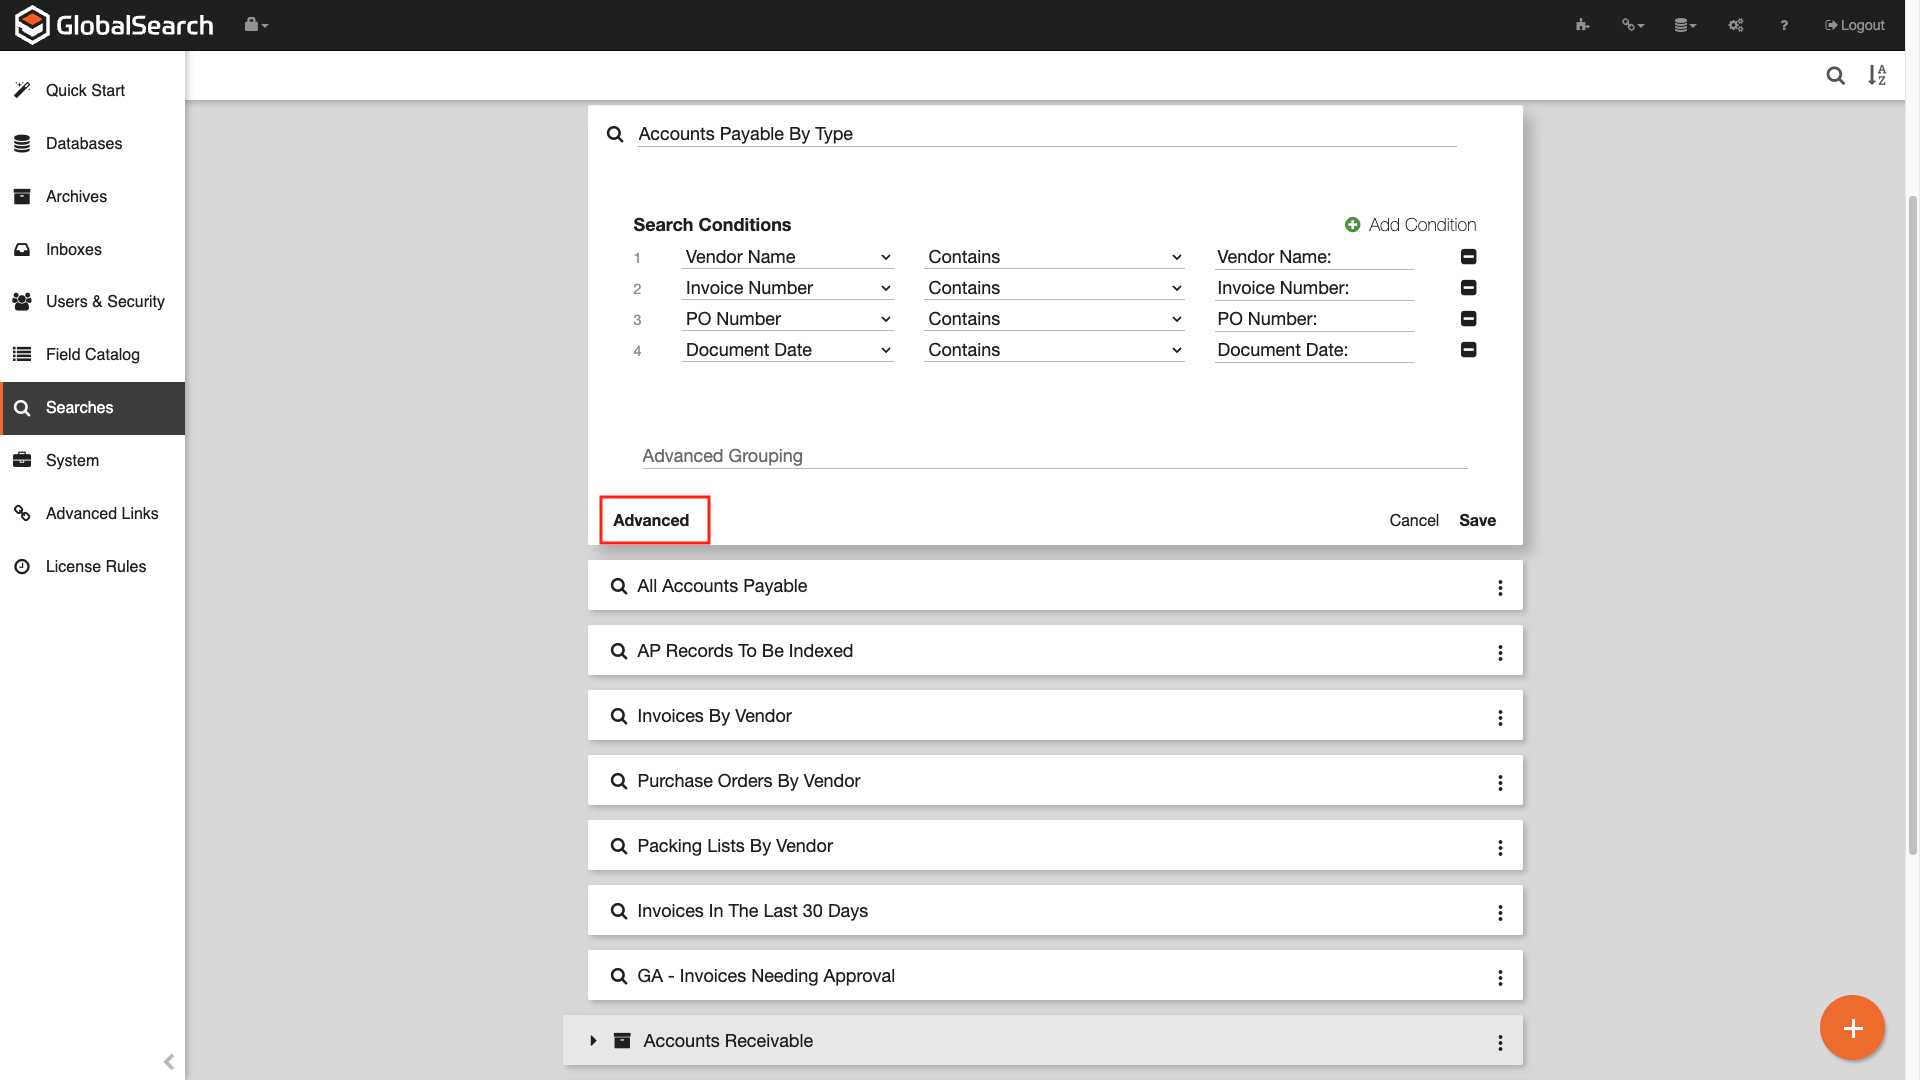
Search Configuration Page
At the bottom, under Dashboard Search Options, click Enable Dashboard Search. Enabling this option will display the search in the Dashboard.
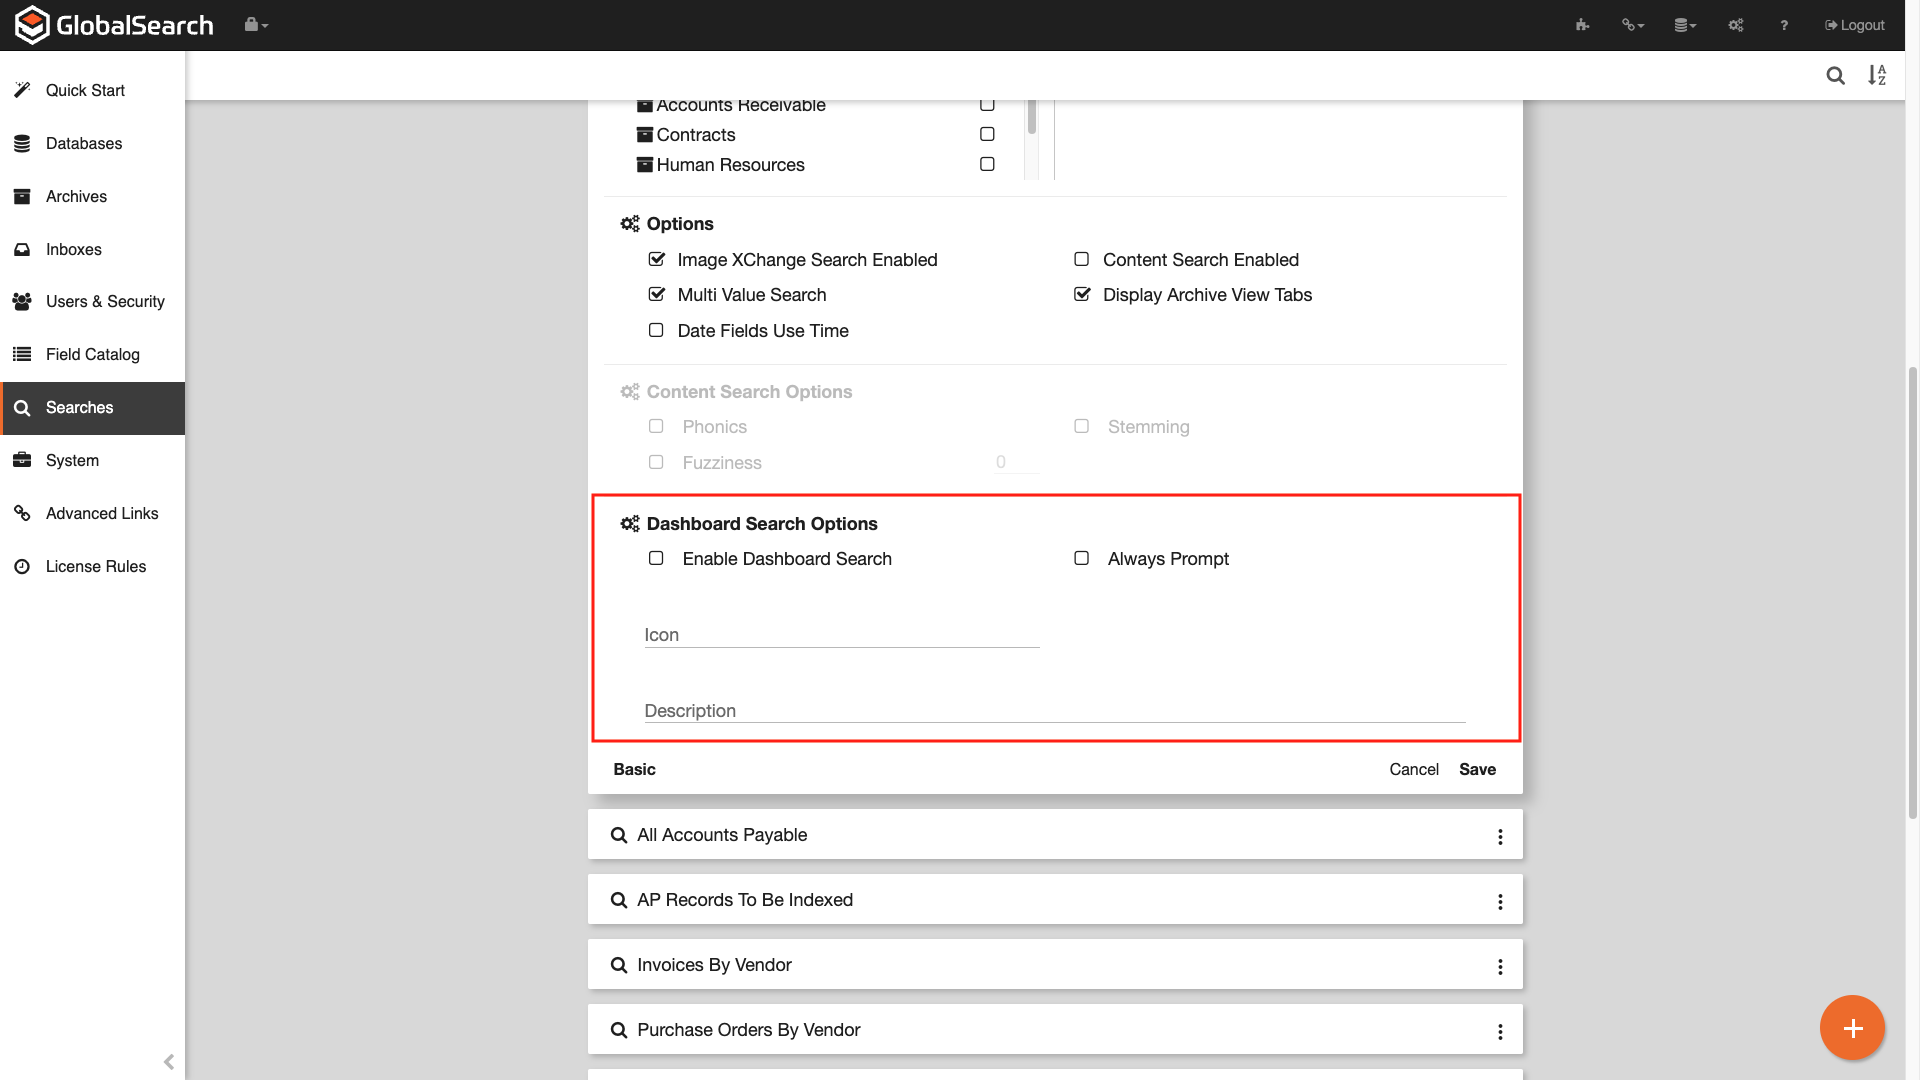
Dashboard Search Options
Additional Dashboard Search Options
Always Prompt - If enabled, when a user clicks the search tile, the search prompt will be displayed. If disabled, when a user clicks the search tile, the search will run without displaying the prompt. To display the prompt, the user will need to click the search prompt icon (
 ) on the tile.
Icon - The icon that displays on the card to the left of the search name. This is a type ahead list. Icons are sourced from Google’s Material icon library. If left blank, the default icon is a magnifying glass (
).Description - Displays below the search name. Provides a description of the search to your users. This is useful to describe the results that will be returned, default parameters, etc. Anything you want your users to know about the search. Each tile only displays the first line of the description but hovering over the tile will display the entire description. This can be very useful for public users who are less familiar with using the portal.

Always Prompt Disabled

Always Prompt Enabled
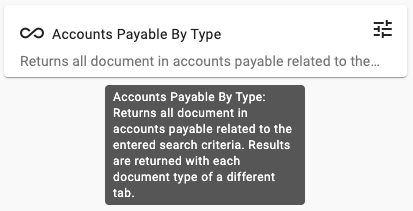
Description
Click Save.
Repeat this for any searches you would like to appear on the Dashboard.
Any search provisioned as a Dashboard Search still requires the Authenticated or Guest user to have permissions to the search.